
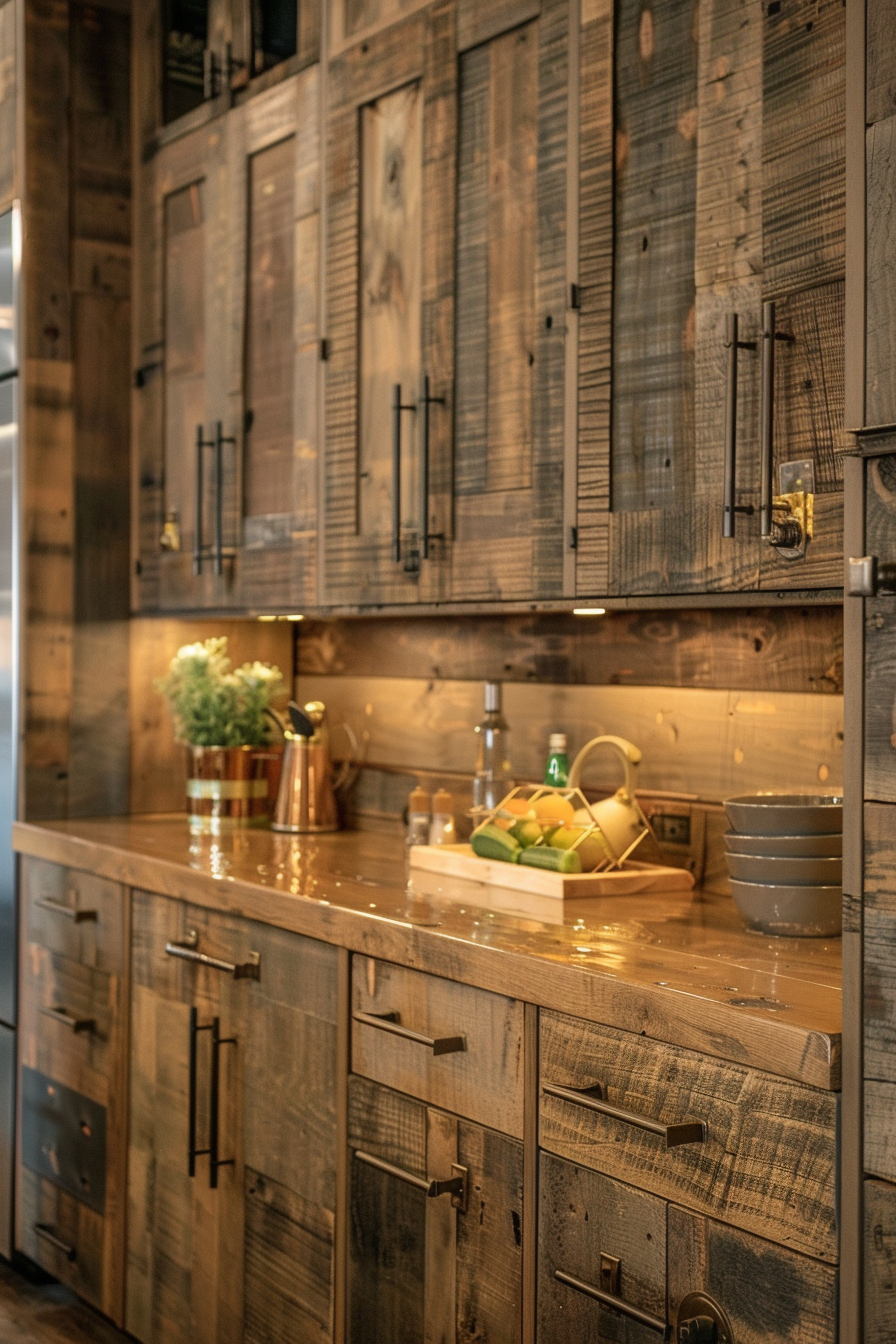
There is something absolutely magical about walking into a room and being greeted by the deep, sun-drenched warmth of rustic Havana furniture. It is a look that feels both historic and completely alive. But how do you keep that rich, sun-baked mahogany or cedar look from fading into dullness over the years.
The secret isn’t a high-tech synthetic varnish or a thick layer of plastic-like polyurethane. Instead, it lies in an old-school method that craftspeople have used for generations: paste wax. In a world full of quick fixes, taking the time to understand how wax interacts with raw, rustic wood is a game-changer for your home.
What Exactly is a Rustic Havana Finish?
To understand why wax works so well, we have to look at what makes Havana style so unique in 2026. This aesthetic is all about rich, dark earth tones, heavy grain textures, and a sense of history. Think of old villas in Cuba, where the salt air and sunlight have softened the edges of heavy tropical hardwoods over decades.
When modern woodworkers recreate this look, they often use deep stains and distressing techniques. A waxed finish doesn’t hide these imperfections; it celebrates them. The wax sinks into the tiny dings, scratches, and open pores, creating a soft, satiny glow that reflects light beautifully without looking fake.
Choosing the Right Type of Wax
Not all waxes are created equal, and picking the wrong one can leave your cabinets looking sticky or cloudy. For rustic Havana pieces, you generally want a high-quality paste wax that contains a mix of beeswax and carnauba wax. Carnauba comes from palm trees and dries incredibly hard, providing excellent protection against moisture and daily wear.
You also have a choice between clear wax and tinted wax. Clear wax is great if your cabinets are already the exact color you want. However, a dark brown or amber-tinted wax is often the secret weapon for Havana furniture. The colored wax settles into the deep grain and crevices, instantly giving the piece an authentic, aged look.
Prepping Your Cabinets for Success
Before you even touch a tin of wax, preparation is everything. If you try to apply wax over an old, dirty surface or a flaking finish, you are going to end up with a messy disaster. Start by cleaning the wood thoroughly with a gentle soap or a dedicated wood cleaner to remove oil, dust, and old grease.
Once the wood is completely dry, give it a very light sanding with fine-grit sandpaper (around 220 grit or higher). You aren’t trying to sand off the rustic character here. You just want to smooth down any rough fibers so the wax can glide on evenly. Wipe away all the dust with a microfiber cloth before moving to the next step.
The Art of Applying the Wax
Now comes the fun part. Grab a soft, lint-free cotton cloth—an old t-shirt works perfectly—and scoop out a small, golf-ball-sized amount of wax. Wrap the cloth around the wax to create a firm pad. Apply the wax to the cabinet using small, circular motions, pushing it deep into the grain of the wood.
The biggest mistake beginners make is applying too much wax at once. You want to apply it in paper-thin layers. Think of it like applying lotion to your skin; if you put too much on, it just sits on top and feels greasy. Work in small sections, like one cabinet door at a time, to keep things manageable.
Buffing for that Perfect Satin Glow
After you apply the wax, you need to let it dry, or "haze over," which usually takes about 10 to 20 minutes depending on the room temperature. You will know it is ready when it looks dull and feels dry to the touch, not sticky. If you wait too long, it gets hard to buff, but don’t panic; you can just apply a tiny bit more wax to soften it up.
Once it has hazed, take a clean, dry cotton cloth and start buffing vigorously. Follow the direction of the wood grain. As you buff, you will notice the dull film magically transform into a rich, deep sheen. If you want a higher level of shine, you can repeat the whole process and add a second coat the next day.


