
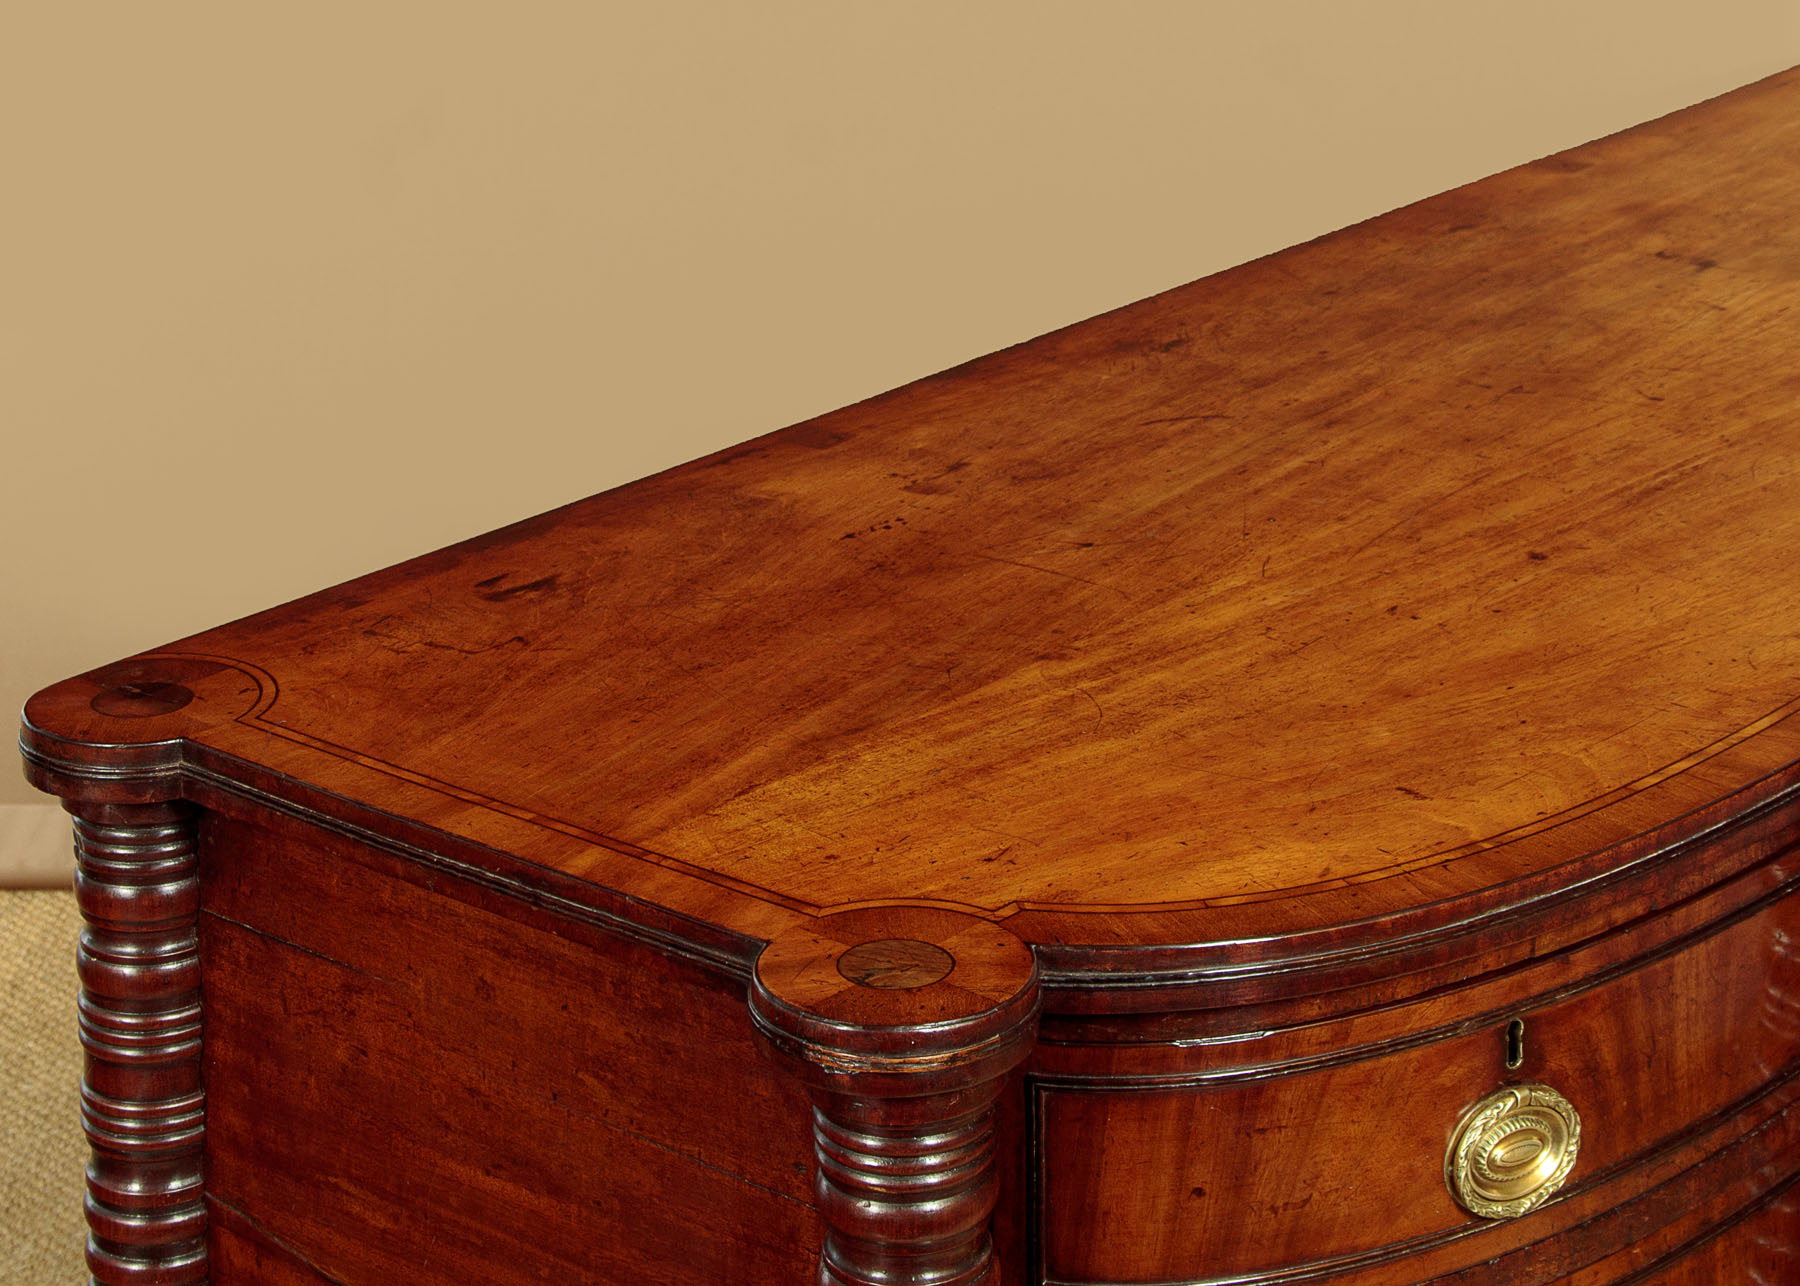
There is something incredibly special about a piece of furniture that has stood in the corner of a room for over a century. These corner cabinets were built to save space, but they ended up holding generations of family memories. Over the years, however, time is rarely kind. A bumped move, a damp basement, or just decades of neglect can leave a beautiful heirloom looking broken, dry, and completely lifeless.
If you have stumbled upon a beaten-up corner cupboard at a yard sale or inherited one from an aunt, you might be tempted to run to the local hardware store for modern wood fillers and polyurethane spray. Please, don’t do that. Restoring an antique the right way means stepping back in time and using the exact same materials and tools that the original craftsman used. It sounds intimidating, but it is actually a deeply rewarding process that anyone can learn with a bit of patience.
Assessing the Damage Without Panic
Before you touch a single tool, you need to look at what you are actually dealing with. Take a close look at the cabinet in good lighting. Is the wood just dirty, or is the finish completely ruined. Are the joints loose? Corner cabinets are unique because they have that 90-degree back, which means if the frame warps, the whole thing goes crooked and the doors won’t shut right.
Look out for old repairs too. A lot of times, someone in the 1970s might have used ugly drywall screws or modern yellow glue to fix a loose shelf. Part of your job now is undoing those quick fixes. Take pictures of everything from every angle before you start taking things apart, because you will definitely forget how the door hinges lined up later.
The Magic of Hot Hide Glue
When it comes to putting loose wood pieces back together, put away the modern store-bought wood glue. Traditional woodworkers used animal hide glue, and it is still the best option in 2026 for old furniture. Why. Because hide glue is completely reversible. If you make a mistake, you can just apply heat and water to loosen it up and try again. Modern plastic glues bond forever and can totally ruin antique wood fibers if you ever need to fix it down the road.
You can buy hide glue in dry flakes, heat it up with water in a little pot, and apply it warm with a brush. It smells a bit funky, but it works miracles. Clamp the pieces together gently. Remember, these old woods like cherry, walnut, or pine have spent a century shrinking and expanding, so don’t force a joint too hard or you might crack the wood.
Fixing Veneer and Missing Chunks
A lot of nice corner cabinets have a thin layer of pretty wood called veneer glued over a cheaper base wood. Over time, moisture makes this veneer peel up like an old sticker. Don’t cut it off! You can usually squirt a little bit of warm hide glue under the loose flap, place a piece of wax paper over it, and clamp it down flat with a scrap piece of wood.
If a piece of the wood is actually missing, like a chip on the corner of a moulding, you will want to do a "dutchman" repair. This is just a fancy word for cutting out a tiny square of matching old wood and gluing it into the damaged spot. Try to find a piece of scrap wood from the same era—maybe from an old broken drawer runner—so the grain and color match up naturally.
Cleaning the Grime of Decades
You would be amazed at how much "damage" is actually just a hundred years of smoke, dust, and old wax. Before you assume a finish is ruined, give it a gentle wash. Mix a tiny drop of mild dish soap in warm water, dampen a cloth, and wipe it down. Don’t soak the wood, or you will ruin the glue underneath.
If the cabinet has old crusted wax that looks black and muddy, you can use a little bit of mineral spirits on a cloth to dissolve the old wax layer. Work in small sections and wipe it dry immediately. Often, underneath all that gunk, the original rich color of the wood is still perfectly intact and glowing.
The Art of French Polishing with Shellac
If the original finish is truly gone or flaking off like dandruff, shellac is your best friend. Shellac is made from a natural resin secreted by the lac bug, and it was the standard finish for centuries. It gives a deep, warm glow that modern varnishes just cannot duplicate. Plus, new shellac melts right into old shellac, making repairs look seamless.
Applying it traditionally involves making a "rubber," which is just a pad of wool wrapped in a cotton rag. You drop some liquid shellac inside the pad and rub it onto the wood in circular, swirling motions. It takes multiple thin layers, but it dries super fast. Don’t worry if it looks a bit uneven at first; you can smooth it out with a little bit of extra-fine steel wool and some paste wax at the very end.
Please don’t throw away those old rusty hinges or iron locks! Original brass and iron hardware carry the soul of the cabinet. If they are covered in layers of old paint, you can boil them in water with a little bit of baking soda. The paint will peel right off like magic.
If a key is missing for the old door lock, don’t replace the whole lock. You can often find antique skeleton keys at flea markets or online, and with a little filing, you can get them to fit the old mechanism. Keeping the original hardware preserves the historical value and just looks a million times better than shiny new brass from a big box store.
Bringing an old corner cabinet back to life isn’t about making it look brand new. It is about honoring the history of the piece and making it sturdy enough to survive another hundred years. The scratches, the slight dings, and the soft patina are all part of its story.
By using traditional glues, finishes, and patience, you ensure that the cabinet stays authentic. Next time you see a sad, wobbly cupboard sitting in a dusty garage, don’t walk away. With some warm glue, a little shellac, and a few weekends of work, you can turn it back into the star of the room.


