Hey everyone. It’s your friendly neighborhood content creator here, and today, we’re diving deep into the art of setting up your zero gravity recliner. This isn’t just about assembling furniture; it’s about crafting a personal sanctuary, a place where you can truly unwind, relax, and recharge. I’ve spent years perfecting my own relaxation setup, and I’m so excited to share my insights with you. Get ready to transform your living space into a haven of tranquility.
In our fast-paced lives, finding moments of peace is more vital than ever. A zero gravity recliner is more than just a chair; it’s a portal to relaxation. It mimics the position astronauts take during liftoff, distributing your weight evenly and taking the pressure off your spine. This can lead to incredible benefits, like improved circulation, reduced back pain, and a general sense of calm. But getting the most out of your recliner requires a thoughtful setup. Let’s get started, shall we?
Unboxing and Inspection: Your First Steps
Alright, so the box has finally arrived – exciting times. Before you dive in, take a moment to inspect everything. Carefully open the box and check that all the components are there: the chair itself, the base, any armrests, the remote (if applicable), and the instruction manual. Look for any signs of damage. If something seems off, contact the manufacturer right away. Believe me, it’s way easier to address issues before you’ve got everything completely assembled. This step is critical, trust me. It can save you a lot of time and frustration down the line. It’s a good idea to take pictures of the box and all the components, just in case you need them later.
Assembly Basics: Putting It All Together
The assembly process will vary depending on your specific recliner model. But generally, it involves attaching the backrest to the base, connecting any armrests, and securing the legs. Follow the instruction manual precisely. Don’t skip steps, and don’t force anything. If a screw doesn’t seem to fit, double-check that you have the right one. Often, there are little diagrams that can help guide you. If you’re not comfortable with DIY projects, don’t hesitate to ask a friend, family member, or even a professional to help. It’s better to get it right the first time. A good tip: lay out all the parts and tools before you start. This will help you stay organized and avoid confusion. And remember, take breaks and stay hydrated.
Finding the Perfect Spot: Location, Location, Location
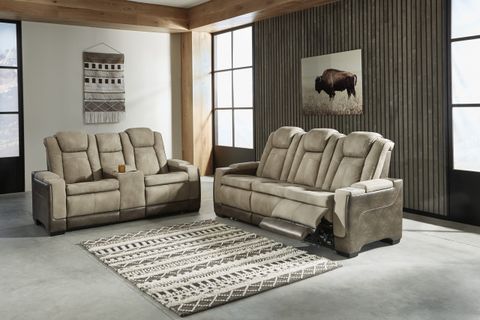
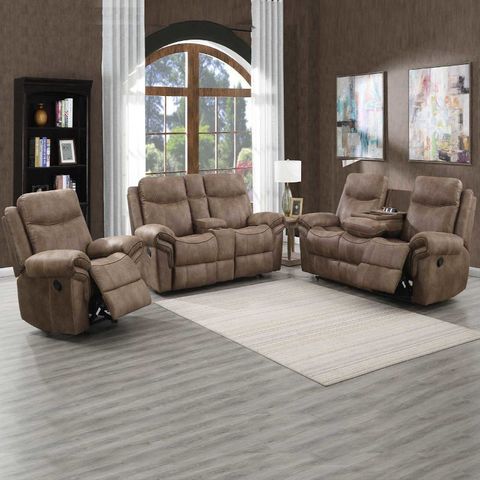
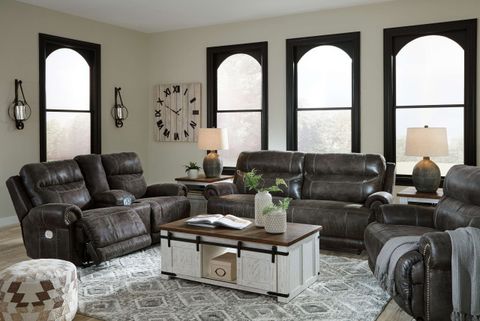
Where you place your recliner is just as important as how you assemble it. Think about the lighting, the view, and the overall ambiance of the room. Is there a window you can look out of? Is it near a power outlet? Consider the traffic flow in the room. You don’t want to be constantly bumped into. Ideally, your recliner should be in a quiet, relaxing space where you feel safe and comfortable. Maybe that’s in a living room corner, a bedroom, or even a dedicated relaxation room. I have mine in the sunroom overlooking the garden. It’s my happy place. Think about the feeling you want to create, and choose a spot that supports that vision.
Ergonomics and Adjustments: Customizing Your Comfort
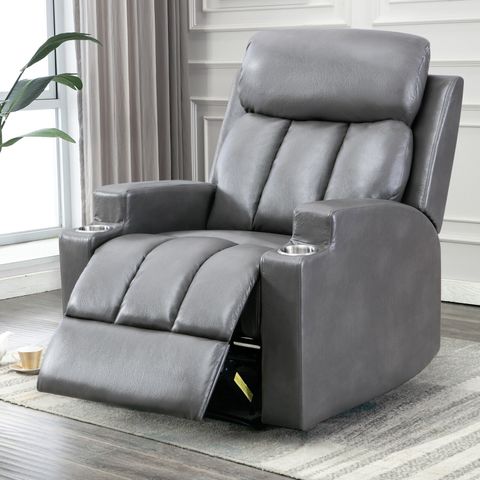
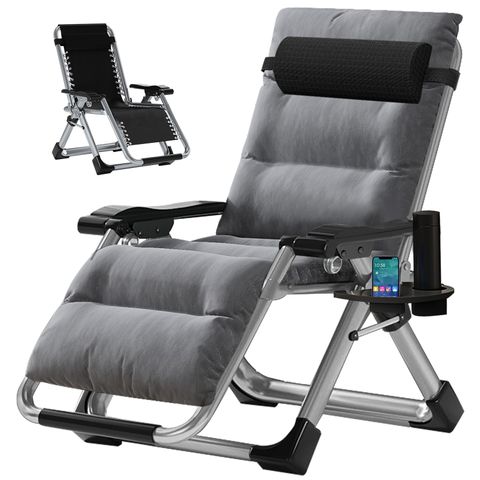
Once your recliner is assembled and in place, it’s time to fine-tune it to your body. This is where the magic happens. Most zero gravity recliners have adjustable features, such as headrests, lumbar support, and footrests. Experiment with these settings until you find the perfect position for you. Pay attention to your posture. Your back should be supported, your neck should be relaxed, and your legs should be elevated. The goal is to achieve a feeling of weightlessness and complete relaxation. Some recliners also have massage and heat functions. Explore these features to maximize your comfort and well-being. It’s all about finding what works best for you.
Adding the Finishing Touches: Creating Your Sanctuary
Now for the fun part: adding the elements that make your recliner area truly your own. Think about adding a soft blanket, a cozy pillow, or a side table for your book and a cup of tea. Maybe a soft throw, and a nice reading lamp. Consider the colors, textures, and scents that create a relaxing atmosphere for you. Candles, diffusers, and calming music can all enhance the experience. Plants are also a great addition. They add a touch of nature and can help purify the air. Make it a space that reflects your personality and your needs. This is your sanctuary, so make it yours. It is so important to set up your recliner area with the things you like. It will make it even more relaxing.
Maintenance and Care: Keeping Your Sanctuary Pristine
To keep your zero gravity recliner in tip-top shape, regular maintenance is essential. Follow the manufacturer’s instructions for cleaning and care. Generally, this involves wiping down the surfaces with a damp cloth and mild soap. Avoid harsh chemicals or abrasive cleaners. If your recliner has leather upholstery, consider using a leather conditioner to keep it soft and supple. Inspect the chair regularly for any signs of wear and tear, and address any issues promptly. Vacuum the chair regularly to keep it free of dust and debris. By taking good care of your recliner, you’ll ensure that it provides years of comfort and relaxation. Remember, a little care goes a long way. And the best part, you will be able to enjoy your recliner for many years to come.
Setting up your zero gravity recliner is more than just a task; it’s an investment in your well-being. By following these steps, you can create a personal sanctuary where you can escape the stresses of everyday life and recharge your mind and body. Remember to take your time, experiment with different settings, and personalize your space to reflect your unique needs and preferences. Enjoy the journey, and most importantly, enjoy the peace and relaxation that your zero gravity recliner provides. Now go forth, recline, and relax. You deserve it. I hope this guide helps you, and remember, you can always reach out if you have any questions and I’ll do my best to answer them.

