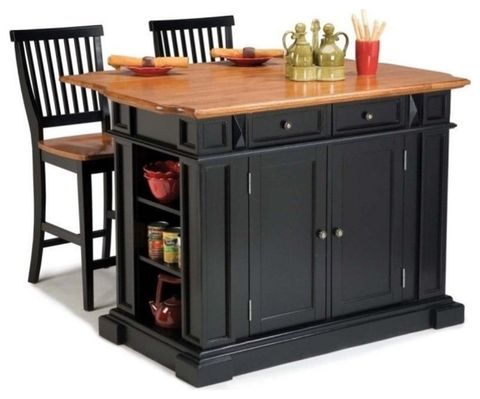
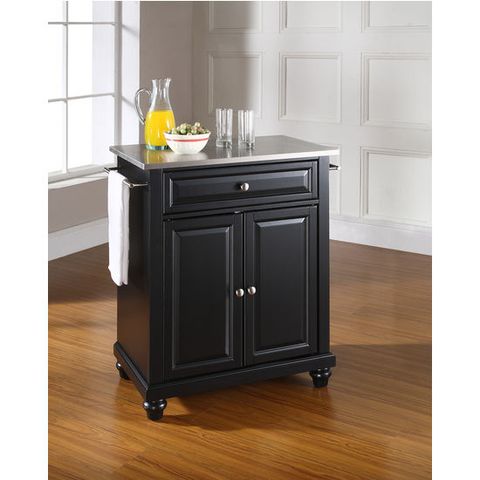
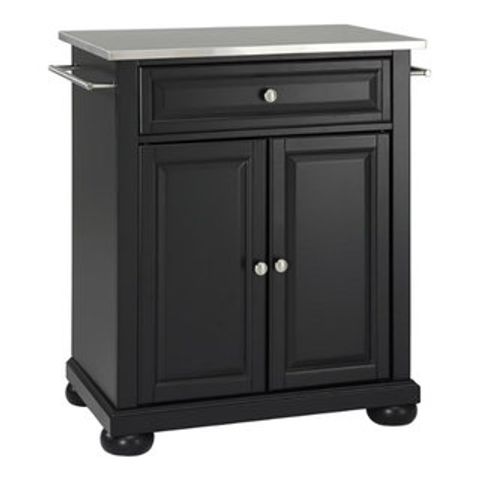
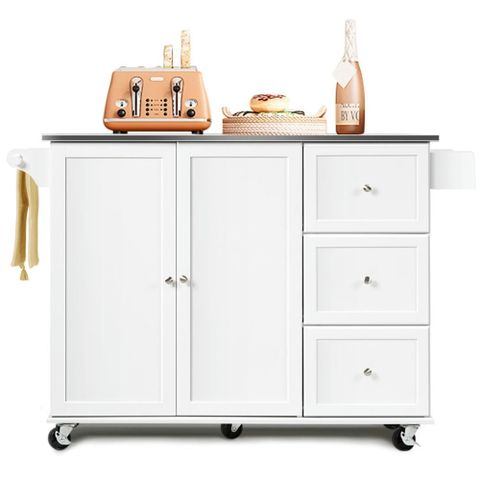
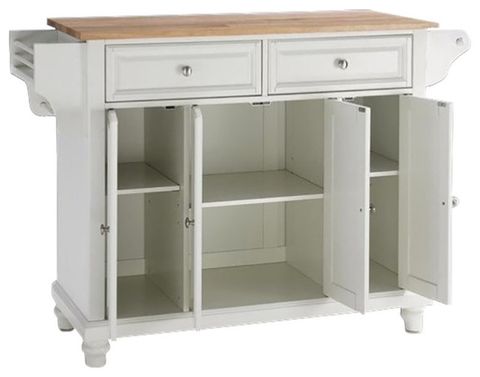
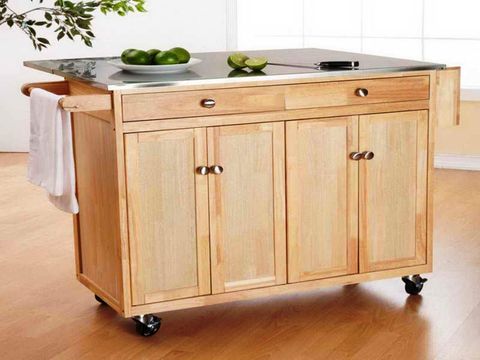
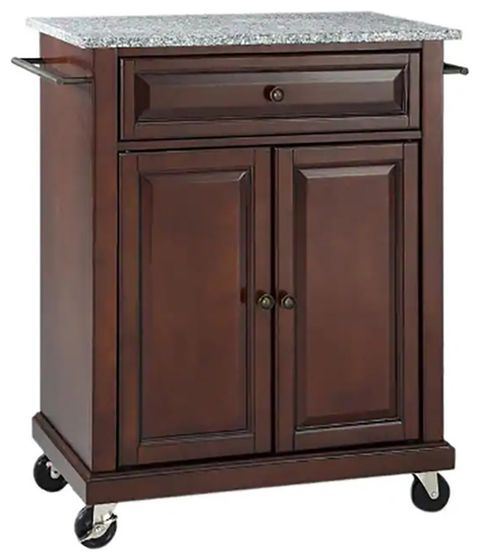
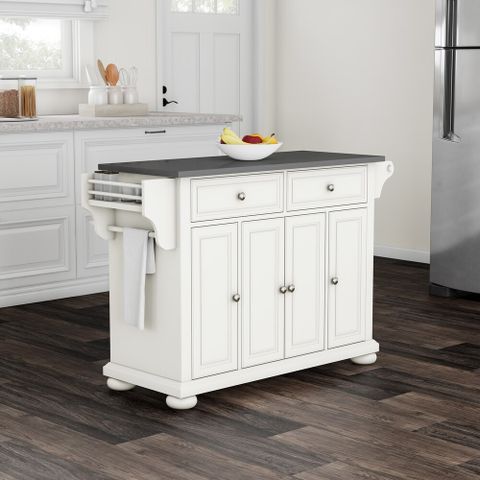
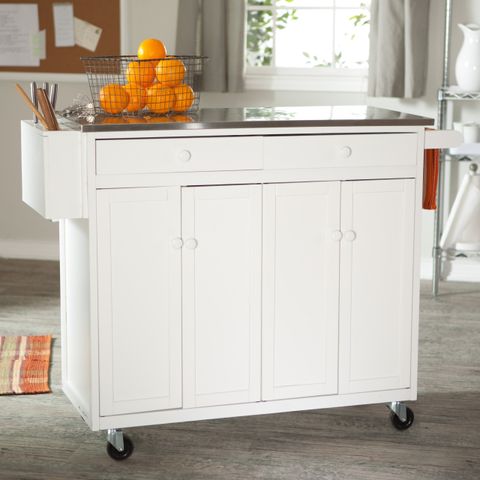
So, you’re dreaming of a kitchen island? A central hub for cooking, eating, entertaining, and life in general. It’s a fantastic idea. But where do you even begin? This guide breaks down the process, from initial planning to the final touches, so you can confidently build your dream kitchen island. It’s a journey, sure, but a rewarding one. Let’s get started, shall we?
This isn’t just about following instructions. It’s about understanding the why behind each step, ensuring your island perfectly fits your needs, your style, and your space. Think of it as a collaboration – you and your kitchen, working together to create something truly special.
The kitchen island has evolved from a simple prep space into the social center of the modern home. It’s where we cook, eat, talk, and, let’s be honest, sometimes just hide from the mess. Building your own island can feel like a daunting task, but with careful planning and step-by-step guidance, it’s absolutely achievable. This article is your roadmap, providing the knowledge and insights you need to navigate the process, avoiding costly mistakes, and ultimately, creating a kitchen island you’ll adore. We’ll delve into everything from size and functionality to materials and installation, ensuring your island is not only beautiful but also perfectly suited to your lifestyle. Get ready to roll up your sleeves… and maybe order some pizza for the first night of construction.
Let’s break it down, shall we? We’ll cover all the essential bases, from the initial design phase to the final touches. We’ll talk about making decisions regarding size, shape, and function, and selecting the right materials. We’ll also look at crucial considerations like electrical and plumbing, and finally, some finishing touches to make your island truly your own.
Phase 1: Planning and Design – The Foundation of Your Island
Before you even think about picking up a hammer, you need a plan. This initial phase is critical, and it’s where most of your big decisions will be made. Here’s what you need to consider:
Size and Shape: Measure your kitchen space carefully. Consider the flow of traffic. You need at least 36 inches of clear space around the island. A general rule of thumb is 42 inches for a single cook and 48 inches for multiple cooks. The shape should complement your kitchen’s layout. Rectangular islands are classic, while L-shaped or curved islands can be great for smaller spaces or to create a more social area.
Functionality: What will your island be used for? Cooking? Eating? Storage? Think about incorporating a sink, cooktop, dishwasher, seating, and outlets. The more specific you are now, the better your island will function in the long run.
Electrical and Plumbing: This is a huge consideration. If you’re including a sink, dishwasher, or cooktop, you’ll need to factor in plumbing and electrical requirements. Consult with a qualified electrician and plumber early in the planning stages. Make sure you know where your existing electrical outlets are and what you’ll need to add.
Style and Aesthetics: What’s your overall kitchen style? Rustic, modern, farmhouse? Your island should complement your existing design. Think about the materials you want to use for the countertop, cabinets, and hardware. Consider the color scheme and the overall look you are aiming for. Do you want a statement piece, or something more understated?
Budget: Be realistic. Building an island can range from a relatively inexpensive DIY project to a significant investment. Factor in the cost of materials, tools, and any professional help you might need. Setting a budget upfront will help you make informed decisions throughout the process.
Phase 2: Materials Selection – Choosing the Right Components
Now comes the fun part (and the potentially overwhelming part): choosing your materials. Here’s a breakdown of the key components:
Countertop: This is a showstopper. Popular choices include:
- Granite: Durable, beautiful, and classic, but can be expensive.
- Quartz: Low-maintenance, comes in a huge range of colors and patterns, and is very durable.
- Butcher Block: Warm and inviting, but requires regular maintenance (oiling).
- Concrete: Modern and unique, but can crack.
- Laminate: Budget-friendly, but less durable.
Cabinetry: You can use pre-made cabinets (a great option for DIYers) or have custom cabinets built. Consider the style, storage needs, and your budget.
Base: The base is what the cabinets sit on and helps with stability. You can use a plywood base or a frame.
Hardware: Handles, knobs, and drawer pulls are the jewelry of your island. Choose hardware that complements your overall style and is easy to use.
Electrical and Plumbing Components: Sinks, faucets, cooktops, outlets, and wiring. Make sure all components are up to code and installed by qualified professionals where necessary.
Lighting: Consider pendant lights above the island for task lighting and ambiance, or recessed lighting. Electrical codes and safety should be considered.
Phase 3: Construction – Putting it All Together
This is where the rubber meets the road! Here’s a simplified overview of the construction process:
Base Construction (If applicable): Build the base frame according to your plans. Ensure it’s level and sturdy.
Cabinet Installation: Assemble your cabinets or install pre-made ones. Make sure they’re level and securely attached to the base.
Plumbing and Electrical Rough-In: Before you close up the cabinets, have the plumber and electrician run their lines. This is crucial to do correctly. This part is best left to professionals.
Countertop Installation: This is often best left to professionals, especially for stone or concrete countertops. They have the tools and experience to ensure a perfect fit.
Finishing Touches: Install drawers, doors, hardware, and any decorative elements. Paint or stain the cabinets. Caulk around the countertop for a watertight seal.
Final Connections: Once everything is in place, the plumber and electrician can make their final connections.
Safety First: Always follow safety guidelines when working with tools and electricity. Wear safety glasses, gloves, and hearing protection. Turn off the power at the breaker box before working with electrical wiring.
Phase 4: The Finishing Touches – Adding Personality and Function
The details make all the difference! Here are some ideas to personalize your island:
Seating: Bar stools or counter stools can transform your island into a breakfast bar or a casual dining area. Consider the height and comfort of the stools.
Storage: Add drawers, pull-out shelves, and open shelving for maximum storage and organization. Think about what you’ll be storing in the island and design the storage accordingly.
Lighting: Pendant lights above the island are a great way to add style and provide task lighting. Under-cabinet lighting can illuminate the workspace.
Backsplash (if applicable): If your island has a backsplash, choose a material that complements your countertop and cabinets. It can be tile, stone, or even painted drywall.
Accessories: Add decorative items like cookbooks, plants, and serving bowls to personalize your island and make it feel like a lived-in space.
Consider a Power Outlet: Ensure your island has enough power outlets for all your appliances and devices. Consider adding USB charging ports for added convenience.
Phase 5: Troubleshooting and Common Mistakes
Even the best-laid plans can hit a snag. Here are some common issues and how to address them:
Uneven Surfaces: Ensure your floor is level before you start building. Use shims to level the cabinets if necessary.
Incorrect Measurements: Double-check all measurements before cutting any materials. Measure twice, cut once!
Electrical and Plumbing Issues: Always consult with licensed professionals for electrical and plumbing work. Don’t try to DIY these crucial aspects if you’re not experienced.
Poor Ventilation: If you have a cooktop on your island, make sure you have adequate ventilation (a range hood) to remove smoke and odors.
Ignoring Building Codes: Be sure to check your local building codes before starting your project. They can vary significantly, and you don’t want to get into trouble later.
Insufficient Storage: Plan for more storage than you think you need. You’ll be surprised how quickly your island can fill up.
Ignoring the Work Triangle: Ensure your island complements the work triangle of your kitchen (sink, cooktop, and refrigerator) for an efficient workflow.
Phase 6: Enjoying Your Island – The Heart of Your Home
Congratulations! You’ve built your dream kitchen island. Now it’s time to enjoy it. Use it for cooking, entertaining, and creating memories. Invite your friends and family over, share a meal, and revel in the satisfaction of a project well done. Your kitchen island is more than just a piece of furniture; it’s a testament to your creativity, hard work, and vision. The kitchen island is the heart of the home – a place for cooking, eating, and connection. Embrace the space you’ve created. Make it your own. And remember, even if it isn’t perfect, it’s yours, and that’s what matters most. Enjoy the time spent around your new island, and be proud of what you’ve accomplished. It’s a space that will serve you for years to come.
Building a kitchen island is a significant project, but it’s also an incredibly rewarding one. By following these steps, carefully planning, and being patient, you can create a functional and beautiful island that transforms your kitchen into the heart of your home. Remember to prioritize safety, seek professional help when needed, and most importantly, enjoy the process. The end result will be a space you’ll love for years to come. Good luck, and happy building. You’ve got this. And, don’t be afraid to make it your own and add your personal touch. After all, it’s your kitchen, and it should reflect you. And don’t be afraid to take breaks, eat some snacks, and celebrate each milestone along the way.
Building your own kitchen island is a great endeavor. Enjoy the journey, and the rewards of a kitchen island that is custom-made by you.

