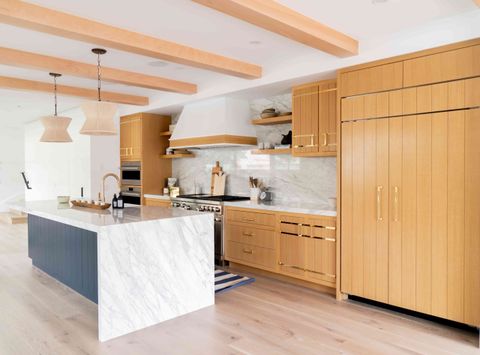
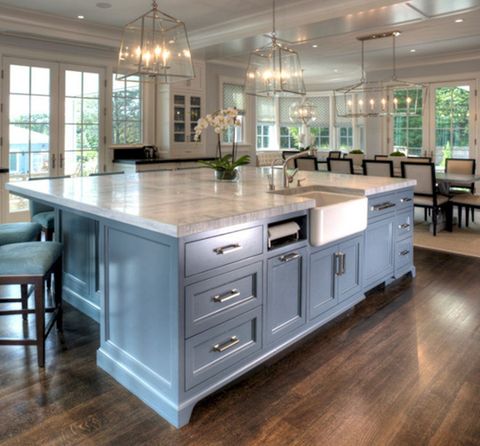
Your kitchen island isn’t just another piece of furniture; it’s the heart of your culinary kingdom, the gathering spot for family and friends, and a statement of your personal style. Building the ideal kitchen island is a great undertaking, and it’s an exciting one. Let’s dive deep into the design, features, and considerations that will help you bring your dream kitchen island to life. This guide is designed to help you, whether you’re planning a full renovation or simply looking to update your current setup. We’ll break everything down into simple, easy-to-understand points, so you can start designing your perfect island right away.
So, you’re thinking about a kitchen island. That’s fantastic. It’s one of the best ways to boost both the functionality and the aesthetics of your kitchen. But where do you even start? This article will walk you through everything: from the basic dimensions and design considerations, to the must-have features that will make your island a true workhorse. We’ll explore different materials, layouts, and how to plan for your specific needs. Prepare to be inspired, and get ready to create a kitchen island that you’ll absolutely adore.
1. Size and Shape: Finding the Right Fit
Before you get carried away with granite countertops and fancy faucets, you need to think about size and shape. Your kitchen’s dimensions will largely dictate what’s possible.
- Measure, measure, measure: Carefully measure your kitchen. Consider the space needed for walkways around the island. A general rule of thumb is at least 36 inches, but 42 inches is often more comfortable, particularly if you have multiple people working in the kitchen at once.
- Shape matters: Rectangular islands are the most common, offering great workspace and storage. Square islands work well in larger kitchens, and curved islands can add a unique design element. Consider your kitchen’s flow and how you intend to use the space.
- Consider your needs: Are you looking for a large prep space, a breakfast bar, or extra storage? The purpose will influence the size and shape. If you have a small kitchen, a narrow island with a drop-leaf extension might be ideal.
2. Essential Functions: What Will Your Island Do?
Your kitchen island’s purpose will shape its features. Think about how you’ll use it day-to-day and what you want to accomplish.
- Prep space: A large countertop, ideally with a durable surface like quartz or granite, is essential for food preparation. Consider adding a second sink and a garbage disposal for convenience.
- Cooking zone: If you want a cooktop or range on your island, make sure to account for proper ventilation (a range hood) and electrical outlets. This also requires careful planning for gas or electric lines.
- Eating area: A breakfast bar or casual dining space is a popular feature. Ensure adequate overhang for comfortable seating and consider the height of your bar stools.
- Storage solutions: Base cabinets, drawers, and open shelving can maximize storage space. Think about what you’ll store in the island and plan accordingly. Consider pull-out trash cans, spice racks, or specialized storage for pots and pans.
3. Materials and Finishes: Making It Beautiful
The materials you choose will define the look and feel of your kitchen island. Here’s a breakdown of popular options:
- Countertops: Granite, quartz, marble, butcher block, and solid-surface materials are all popular choices. Each has different pros and cons regarding durability, maintenance, and cost. Quartz is extremely durable and low-maintenance, and granite is beautiful but needs sealing. Butcher block adds warmth, but can scratch and stain.
- Cabinetry: The style of your cabinetry should complement the rest of your kitchen. Choose from painted wood, stained wood, or even metal. Consider different door styles (shaker, flat-panel, raised-panel) and hardware options.
- Finishes: Paint colors, stains, and decorative trim can personalize your island. Consider the overall design aesthetic of your kitchen when making your selections. Two-tone islands (different colors for the base and countertop) are also a popular choice.
- Lighting: Don’t forget lighting. Pendant lights are a classic choice for over an island, providing both task and ambient lighting. Recessed lighting or under-cabinet lighting can also enhance the functionality and aesthetics.
4. Electrical and Plumbing: The Practicalities
This is where the planning gets serious. You’ll need to consider electrical outlets and, if you’re including a sink or cooktop, plumbing.
- Electrical outlets: Make sure you have enough outlets for your appliances, charging phones, and other needs. Follow local building codes regarding outlet placement.
- Plumbing: If you’re adding a sink, you’ll need to run water supply lines and drain lines to the island. This requires careful planning and professional installation.
- Ventilation: If you have a cooktop, you’ll need a range hood that vents to the outside. Make sure the hood is the right size and has sufficient power.
- Professional help: It’s a good idea to consult with a licensed electrician and plumber to make sure everything is done safely and according to code.
5. Design Ideas & Inspiration: Unleash Your Creativity
Let your imagination run wild. Here are a few design ideas to get you started.
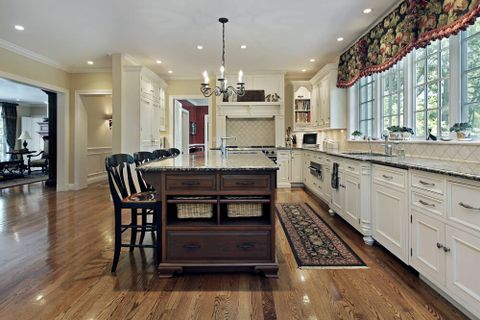
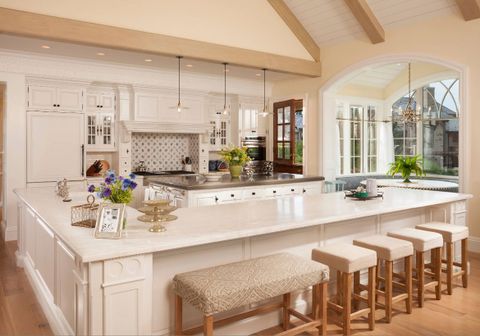
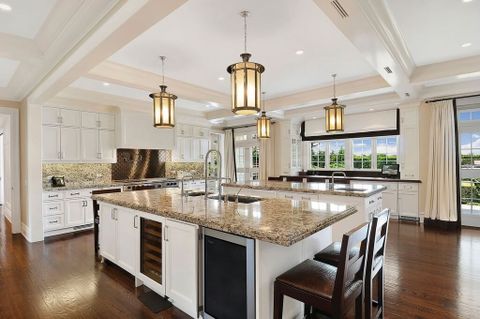
- The Classic Island: A rectangular island with a granite countertop, shaker cabinets, and a breakfast bar. Simple, elegant, and functional.
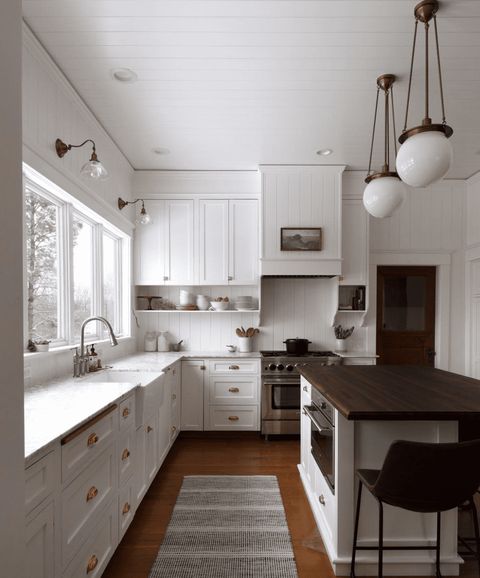
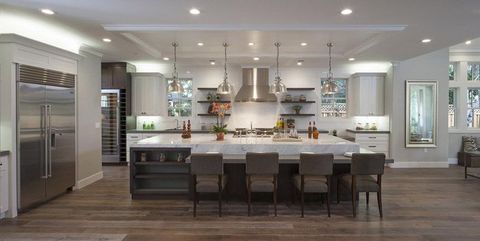
- The Modern Island: A sleek island with a quartz countertop, flat-panel cabinets, and minimalist hardware. Features clean lines and a contemporary feel.
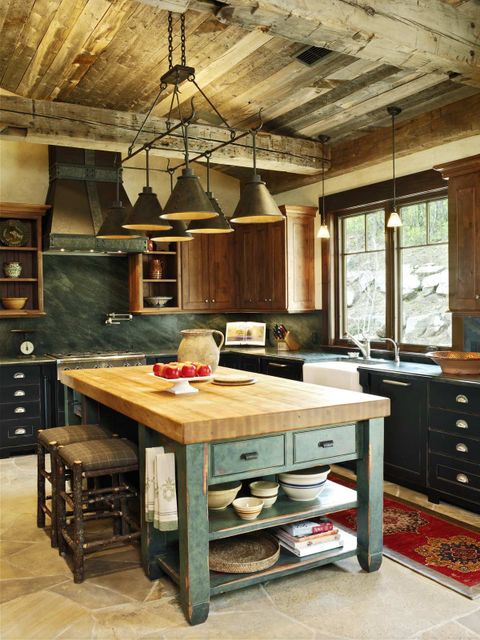
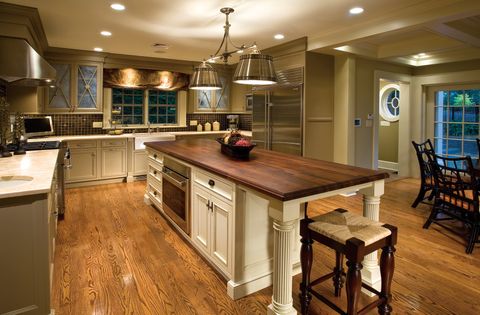
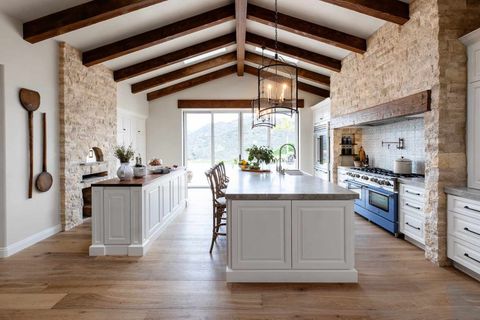
- The Rustic Island: A reclaimed wood base with a butcher block countertop. Think about adding open shelving and vintage-style lighting for a warm, inviting look.
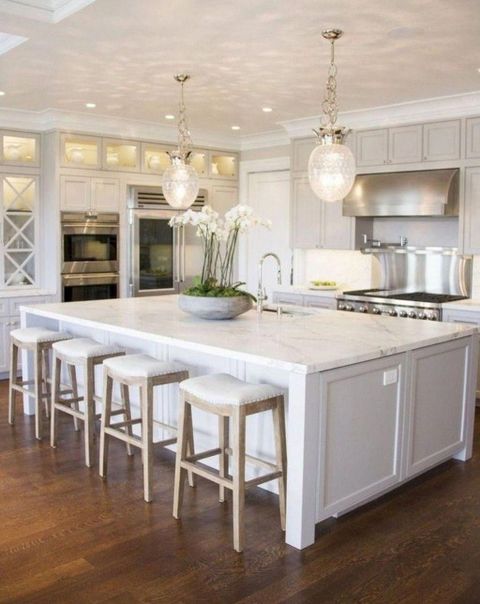
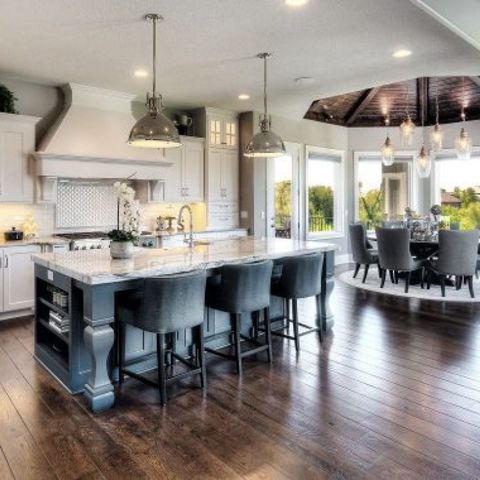
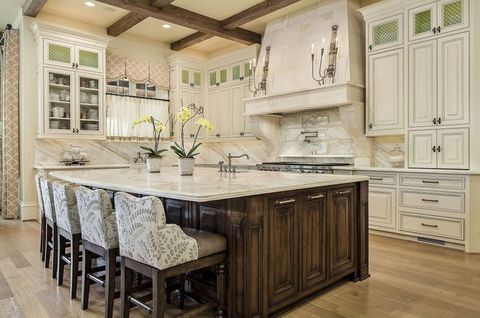
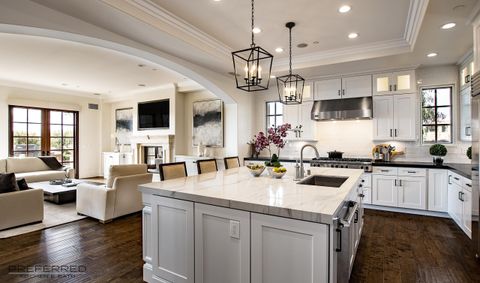
- The Multifunctional Island: An island that incorporates a sink, cooktop, and breakfast bar. Great for maximizing space and creating a social hub.
Browse magazines, websites, and Pinterest for inspiration. Collect images of kitchens you love to help you define your style.
6. Budget and Timeline: Planning for Success
Creating a kitchen island involves costs and time. Planning is key.
- Set a budget: Research the costs of materials, labor, and appliances. Get quotes from contractors and suppliers.
- Create a timeline: Factor in the design phase, ordering materials, demolition, construction, and installation. Be realistic about the time it will take.
- DIY vs. professional: Consider whether you’ll do some of the work yourself or hire professionals. This will impact your budget and timeline.
- Contingency plan: Things can go wrong. Set aside a contingency fund to cover unexpected expenses.
Building a kitchen island is a significant project, but the rewards are well worth the effort. By considering these key features, you can design an island that’s not only beautiful but also incredibly functional and tailored to your needs. Remember to prioritize your needs, plan carefully, and don’t be afraid to experiment with different design ideas. With careful planning and execution, you can transform your kitchen into the heart of your home. Now, go out there and start building the kitchen island of your dreams, and remember to enjoy the process. It’s a journey, not just a destination – and the end results are going to be amazing.

