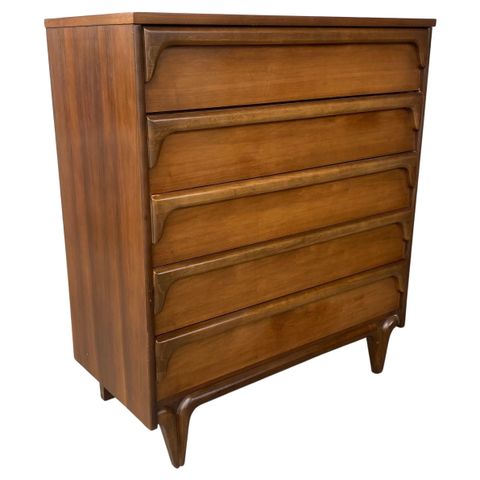
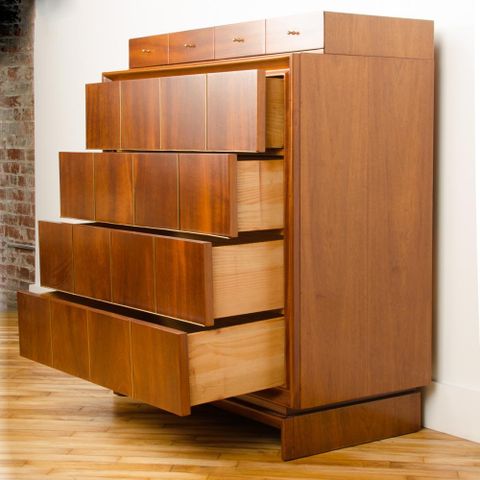
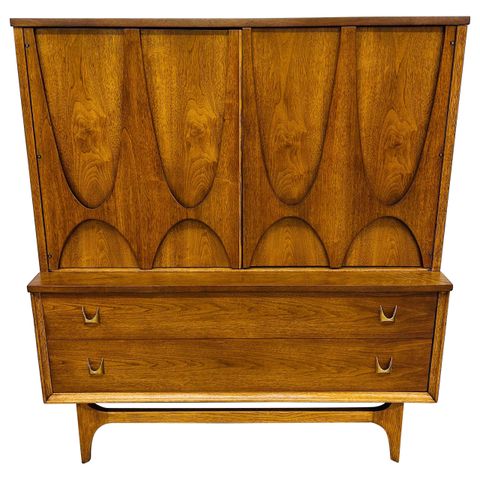
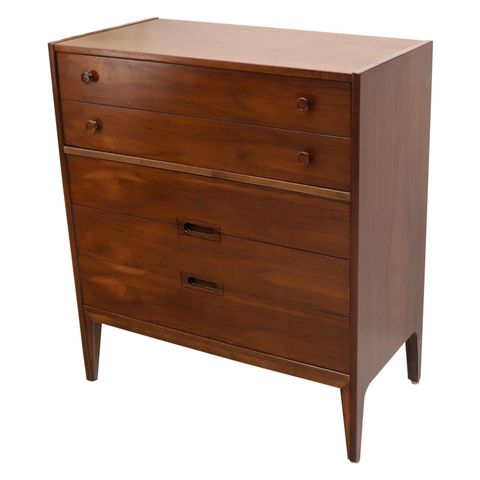
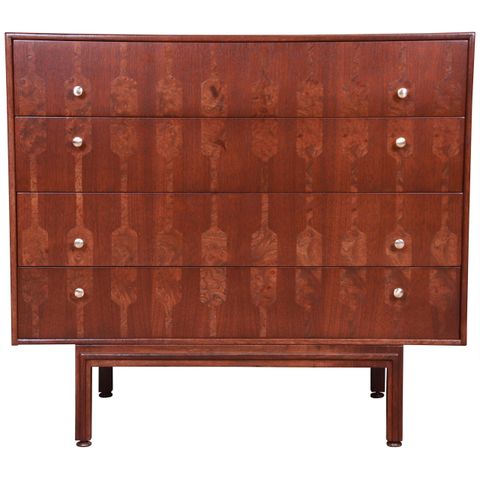
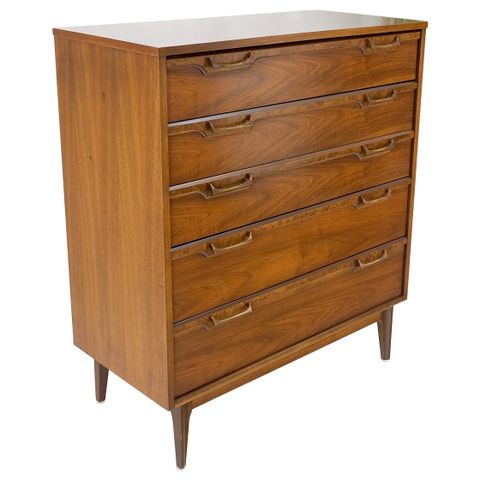
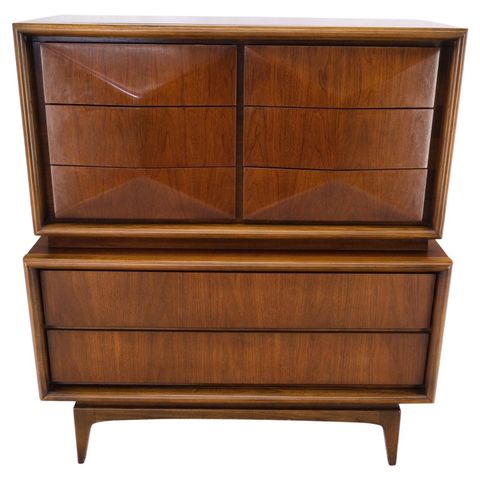
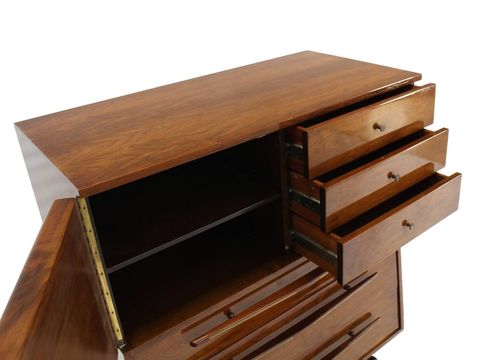
Mid-century modern furniture is all about clean lines, functional design, and, of course, that signature warm wood tone. If you’ve got a high chest with a dulled or damaged walnut finish, you know how crucial getting the stain just right is. It’s not just about color; it’s about recapturing the soul of the piece. Let’s talk about how to achieve that authentic, inviting look that makes these pieces so beloved.
There’s a reason walnut was so popular during the mid-century era. Its rich, deep brown hues and beautiful grain patterns offered a sophisticated yet warm aesthetic that perfectly complemented the era’s design philosophy. Walnut furniture, especially high chests, became a staple in many homes, exuding elegance and durability. But time, use, and sometimes less-than-ideal refinishing attempts can leave these treasures looking a bit sad. Restoring that original walnut glow isn’t just a DIY project; it’s a way to connect with design history and breathe new life into a beautiful object. So, if you’re ready to dive into the world of walnut stains and bring back that authentic mid-century vibe, you’ve come to the right place.
Understanding Walnut: More Than Just One Shade
Before you even think about picking up a brush, it’s important to realize that ‘walnut’ isn’t a single color. Different species of walnut, and even different cuts from the same tree, can yield quite distinct shades. Black walnut, the most common for furniture, typically ranges from a lighter brown to a deep, rich chocolate. You might also encounter American black walnut or even exotic varieties. The key is to identify the original wood tone of your high chest. Does it lean more towards a reddish-brown, a golden-brown, or a deep, almost purplish-brown? Examining an inconspicuous area, like the back or inside of a drawer, can give you clues. This initial assessment will guide your stain choice and help you select a product that mimics the original character.
Choosing the Right Walnut Stain: Oil-Based vs. Water-Based
When it comes to stains, you’ll primarily encounter two types: oil-based and water-based. For authentic mid-century restoration, oil-based stains often get the nod. Why? They tend to penetrate the wood more deeply, offering a richer, more nuanced color that develops over time. They also tend to be more forgiving, allowing for longer working times and easier blending, which is a huge plus when you’re aiming for a specific, aged look. Water-based stains dry faster and can raise the grain more, sometimes leading to a less subtle finish, though modern formulations are excellent and offer great color options. For that classic, warm walnut finish, an oil-based stain is usually your best bet. But remember to check the manufacturer’s recommendations and consider the specific wood you’re working with. Some woods take stain differently, and a little test is always wise.
Achieving the Authentic Mid-Century Hue: Color Matching and Toning
This is where the real magic happens. Getting that authentic mid-century walnut look often involves more than just slapping on a single can of ‘walnut’ stain. Many times, the original finishes were achieved through a combination of staining and toning. Toning involves applying a very thin, translucent layer of color, often over an existing stain or the bare wood, to adjust the hue. For instance, if your walnut piece has a bit too much red, a touch of a cooler, brown toner might be needed. Conversely, if it’s looking a bit flat, a subtle amber or golden toner can add warmth. You might even find yourself mixing different stain colors to achieve that perfect match. Don’t be afraid to experiment on scrap wood that’s similar to your high chest. Look for stains that offer a range of browns, from light to dark, and consider adding a hint of amber or even a touch of red or yellow to fine-tune the color. Patience and test patches are your best friends here.
Preparation is Key: Sanding and Surface Treatment
No matter how perfect your stain choice, a good finish starts with proper preparation. For a high chest that’s seen decades of use, this usually means dealing with old finishes and minor imperfections. Start by gently removing any old, flaking finish with a chemical stripper or careful sanding. If you’re sanding, begin with a coarser grit (like 100-120) to remove the old finish and any minor scratches, then move to finer grits (150-180) to smooth the surface. Always sand in the direction of the wood grain. After sanding, thoroughly clean the wood to remove all dust. A tack cloth is excellent for this. For a more even stain absorption, especially if the wood is prone to blotching (some walnuts are), you might consider applying a pre-stain wood conditioner. This helps the wood accept the stain more uniformly, preventing dark splotches and achieving a smoother overall appearance. Think of it as priming a canvas before painting.
Application Techniques for a Professional Finish
Applying the stain is the moment of truth. For oil-based stains, a good quality natural bristle brush is often recommended, or you can use a clean, lint-free cloth for wiping on and wiping off. Whichever method you choose, work in manageable sections and always apply the stain evenly, following the wood grain. Don’t let the stain puddle. For a deeper color, apply a second coat after the first has dried according to the manufacturer’s instructions. The trick to that authentic mid-century look is often in the wiping. After letting the stain penetrate for the recommended time (usually 5-15 minutes, but check the can), wipe off the excess with a clean cloth, again, always moving with the grain. This process removes the surface pigment, revealing the grain’s natural texture and depth. For a truly authentic feel, you might even consider a two-step staining process: a base coat for color and a glaze or toner for depth and variation. Practice on scrap wood first, as different techniques yield different results.
Sealing and Protecting Your Restored Piece
Once your stain is perfectly applied and dry, the next crucial step is sealing and protecting it. This not only safeguards your hard work from moisture and wear but also enhances the richness of the walnut stain. For mid-century pieces, a clear topcoat like a polyurethane, lacquer, or varnish is common. Polyurethane offers excellent durability and is relatively easy to apply. Lacquer provides a very smooth, often satin finish that’s characteristic of many vintage pieces, but it’s more volatile and requires good ventilation. Varnish is also a strong contender, offering good protection. You can choose between oil-based or water-based topcoats, depending on your preference and the look you want. For that authentic mid-century sheen, a satin or semi-gloss finish is usually spot on. Apply multiple thin coats, allowing each to dry thoroughly and lightly sanding with very fine grit sandpaper (220-320) between coats for a glass-like smoothness. Buffing the final coat with a fine steel wool or polishing compound can add an extra layer of depth and a soft sheen.
Restoring a mid-century high chest with walnut stain is a rewarding endeavor. It’s a process that requires patience, attention to detail, and a willingness to learn. By understanding the nuances of walnut, choosing the right stains and finishes, and meticulously preparing and applying them, you can achieve a truly authentic and beautiful result. Remember, every piece of furniture has a story, and by restoring its original beauty, you’re not just refinishing wood; you’re preserving a piece of history and adding a touch of timeless elegance to your home. So go ahead, embrace the process, and let that beautiful walnut shine through once more.

