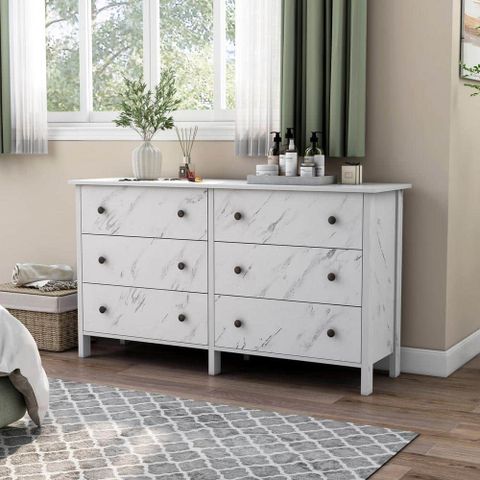
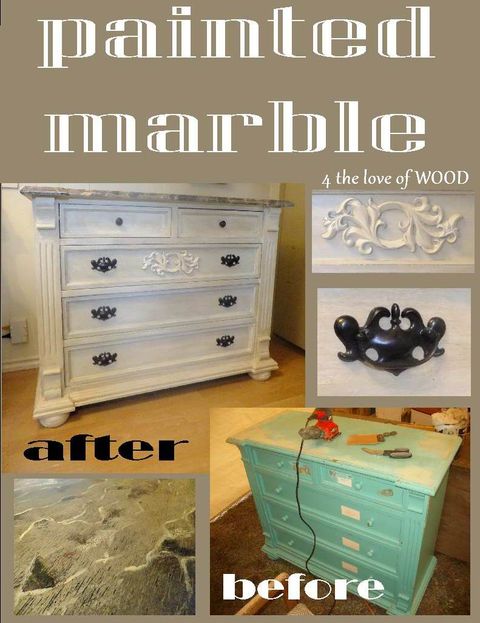
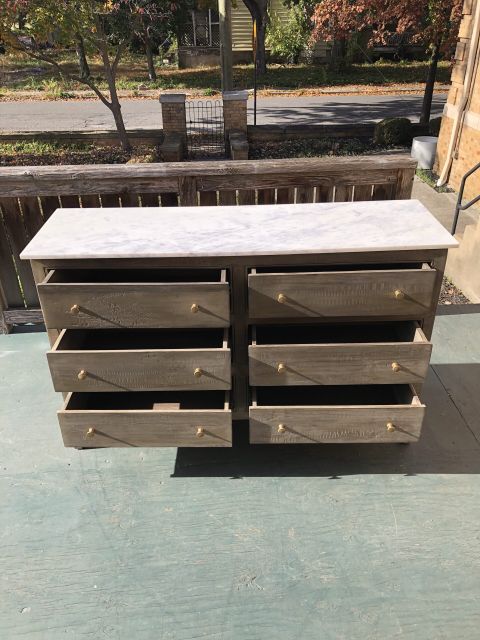
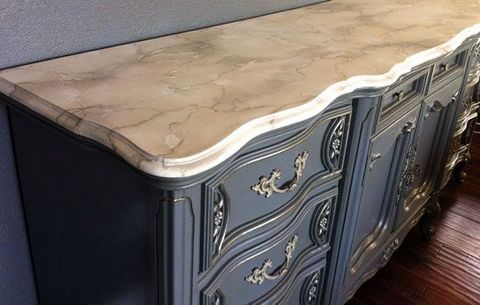
Ever looked at a piece of furniture and thought, ‘I wish it had that special something?’ Well, you’re in the right place. Today, we’re diving deep into how to give a dresser a truly captivating makeover with a Maranello gray wash faux marble effect. It’s not as daunting as it sounds, and the results? Absolutely breathtaking.
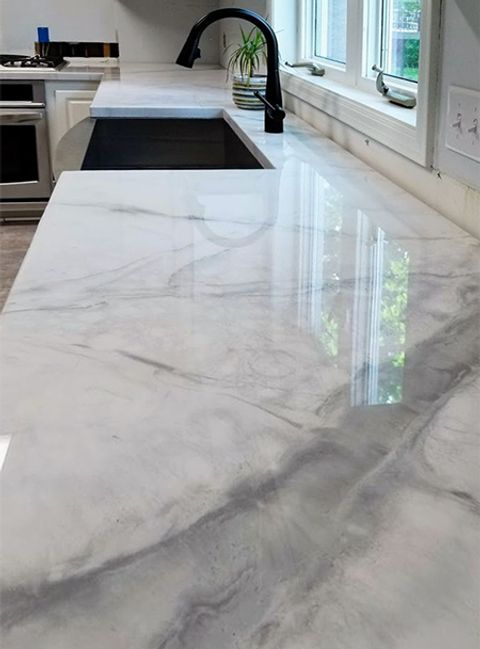
There’s something undeniably luxurious about marble, isn’t there? Its intricate veining and cool, sophisticated feel can elevate any space. But real marble? It can be pricey and heavy. That’s where the magic of faux finishes comes in. Specifically, a Maranello gray wash faux marble can imbue your furniture with that same high-end elegance, but with a DIY-friendly approach. Think of a beautiful, soft gray base, swirled with delicate, darker veins – just like the real deal, but achievable in your own home. We’re going to break down this process, making it approachable for everyone, whether you’re a seasoned DIYer or just starting out.
Gathering Your Tools and Materials
Before we start painting, let’s get our supplies sorted. It’s like prepping for a great meal – the right ingredients make all the difference. You’ll need:
- Your Dresser: Of course! Make sure it’s clean and free of any old, peeling finishes.
- Primer: A good quality primer is essential for creating a smooth, even base.
- Base Coat Paint: A soft, neutral gray is perfect for that Maranello look.
- Veining Paints: You’ll want a darker gray or almost black, and perhaps a very subtle touch of white or cream for highlights.
- Glaze: This is key for creating depth and that translucent marble effect.
- Brushes: A good quality synthetic brush for the base coat and a smaller artist’s brush or even a feather for the veining. A larger, softer brush for blending is also helpful.
- Rags and Sponges: For dabbing, blending, and creating texture.
- Top Coat/Sealer: To protect your beautiful new finish. A water-based polycrylic is a good choice.
- Sandpaper: Fine grit, for smoothing between coats.
It might seem like a lot, but each item plays its part in bringing the faux marble to life. And remember, having everything ready means a smoother, more enjoyable creative session.
Preparing the Canvas: Cleaning and Priming
This initial step is crucial. You wouldn’t paint a masterpiece on a dirty canvas, right? Give your dresser a thorough cleaning with soap and water, then wipe it down with a degreaser. If there are any glossy finishes, a light sanding will help the primer adhere. Once it’s clean and dry, apply your primer. Aim for thin, even coats. Two coats are usually best for ensuring complete coverage and a uniform surface. Let each coat dry completely before moving on. This step is the foundation for everything that follows, so don’t rush it.
Laying the Maranello Gray Foundation
Now for the base color. Apply your chosen soft gray paint. Again, thin, even coats are your friend. You want a smooth, consistent finish. Depending on the paint and your dresser’s surface, you might need two or even three coats. Allow ample drying time between each application. You can use a roller for larger areas for an even smoother finish, and a brush for the edges and details. Once the base coat is completely dry, a very light sanding with fine-grit sandpaper can help smooth out any imperfections and ensure a silky surface for the next stage.
The Art of Veining: Creating Natural-Looking Lines
This is where the magic truly happens! Mix your darker gray or black paint with a glazing medium. The glaze will thin the paint, making it more translucent and giving you more control. You’re looking for a consistency that allows the paint to be easily manipulated and blended. There are a few ways to create veins:
- The Feather Method: Dip a feather or a fine artist’s brush into your veining mixture. Lightly drag it across the surface in sweeping, irregular motions. Think about how natural veins flow – they aren’t perfectly straight.
- The Rag Method: Slightly dampen a clean rag with the veining mixture. Gently dab and drag it across the surface to create softer, more diffused veins.
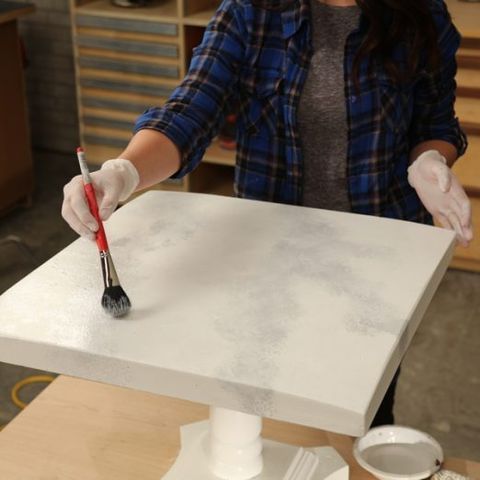
- The Brush Drag Method: Use a dry, stiff-bristled brush. Dip just the tips into the veining paint, then lightly drag it across the surface, letting the bristles create fine, broken lines.
The trick here is to work in small sections and blend as you go. Use a clean, dry brush or a soft rag to gently smudge and soften the edges of the veins, making them look like they’re naturally part of the stone. Don’t overdo it. Subtle, varied veins are more realistic than heavy, uniform ones. Step back frequently to assess your work. You can always add more, but it’s harder to take away.
Adding Depth and Dimension with Glaze
To really capture that marble depth, we’ll use another layer of glaze. This time, you might use a slightly thinned version of your base gray, or even a very subtle hint of a warmer tone mixed with glaze. Apply this thinly and evenly over your veined sections. Then, using a clean, soft brush or a crumpled rag, gently blend and dab the glaze. This softens the veins further, makes them appear to recede, and gives the entire surface that characteristic translucent quality of real marble. It’s about creating subtle variations in tone and light. This step takes practice, so don’t be discouraged if your first attempt isn’t perfect. Experiment on a scrap piece first if you can.
Sealing and Finishing Touches: Protecting Your Work
Once you’re happy with your faux marble finish and it’s completely dry (give it at least 24 hours, longer is better), it’s time to seal it. A water-based polycrylic is a great choice because it dries clear and doesn’t yellow over time. Apply two or three thin coats, allowing each to dry thoroughly and giving a very light sanding between coats with extra-fine grit sandpaper. This will protect your beautiful creation from everyday wear and tear and give it a lovely, smooth sheen. Now, stand back and admire your work. You’ve transformed a simple dresser into a stunning piece of art!
Creating a Maranello gray wash faux marble dresser is a rewarding process that can completely change the character of your furniture and your room. It’s a journey of layering colors and textures, and the key is patience and a willingness to experiment. Don’t be afraid to make it your own. The beauty of faux finishes is their unique, handcrafted appeal. So, gather your supplies, channel your inner artist, and get ready to unveil a truly magnificent piece that reflects your personal style.

