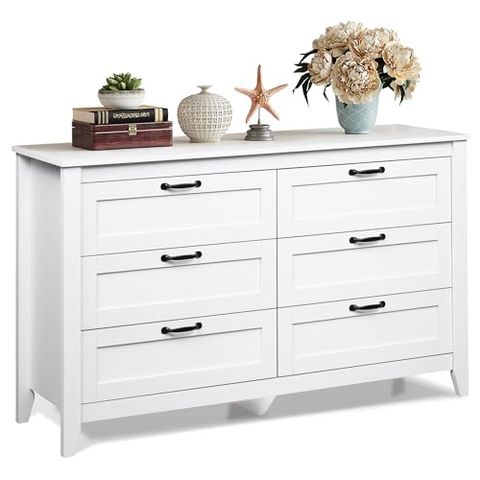
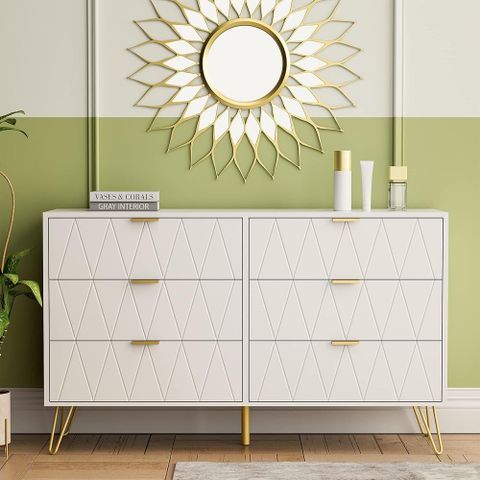
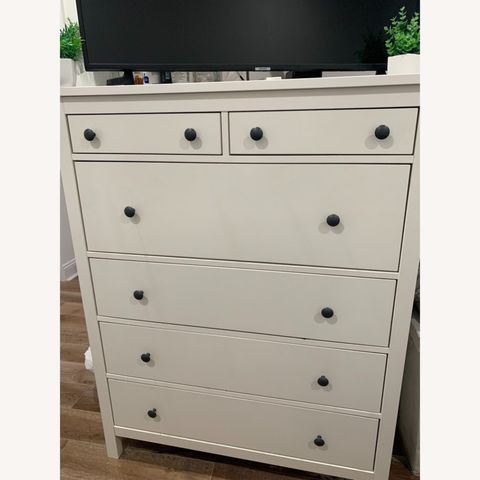
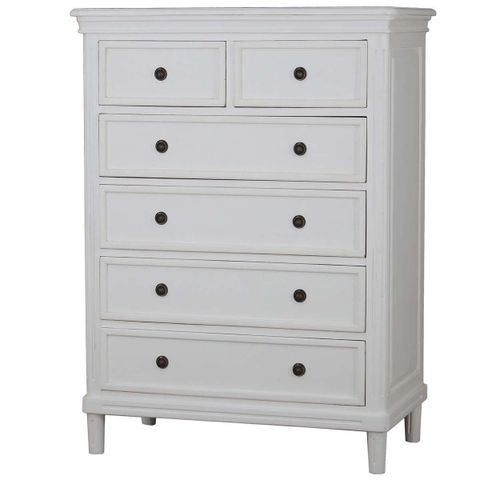
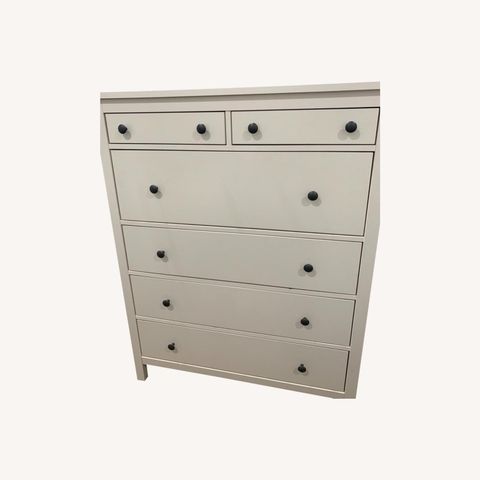
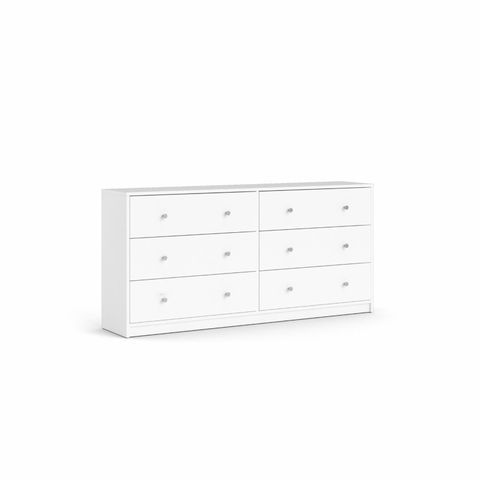
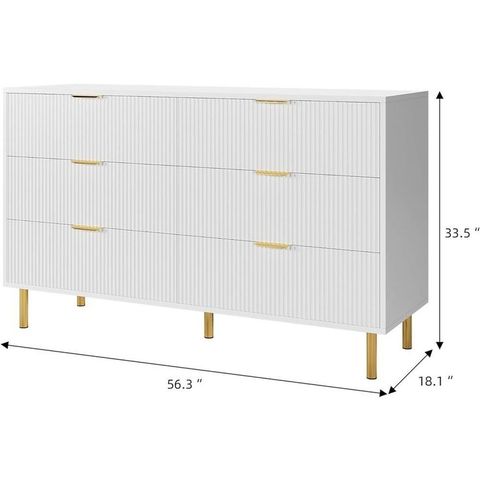
So, you’ve got yourself a shiny new 42-inch white 6-drawer dresser. That’s fantastic. It’s a useful piece of furniture, great for stowing away your clothes and keeping your room tidy. But, like anything worth having, it needs a little care and attention. This guide is all about helping you put that dresser together the right way and making sure it stays looking gorgeous for years to come. We’ll cover everything from the initial setup to everyday maintenance, giving you the tools you need to become a dresser-whisperer. Get ready to assemble, organize, and maintain your dresser like a pro. And, I promise, it won’t be as daunting as you might think.
Alright, let’s be real. Assembling furniture can sometimes feel like a Herculean task. The instructions are often cryptic, the parts seem endless, and the fear of a wobbly, uneven dresser is real. But don’t worry. I’m here to break it all down and make the process as smooth as possible. We’ll look at how to put your dresser together, what to do when things go sideways (because, let’s face it, they sometimes do), and how to keep it looking fresh and new. We’re going to cover everything from the tools you’ll need to the best cleaning practices. Consider this your personalized guide to dresser mastery. Let’s get started.
Pre-Assembly Prep: Setting the Stage for Success
Before you even think about grabbing a screwdriver, take a breath. This is the most crucial step, and it’s often overlooked.
- Unpack and Inventory: Carefully unpack all the parts. Lay everything out on a protected surface (like a rug or cardboard) to avoid scratches. Check the parts list in the instruction manual to make sure you have everything. This may seem simple, and it is, but it’s important.
- Gather Your Tools: The instruction manual will tell you what you need, but here’s a basic list:
- Screwdriver (Phillips head and, possibly, flathead)
- Allen wrench (usually included, but have a set handy)
- Rubber mallet (for gently tapping in dowels or pegs)
- Level (to make sure everything is, well, level)
- Measuring tape (just in case)
- Your instruction manual (keep it close; it’s your bible)
- Read the Instructions: Yes, really. Read them thoroughly before you begin. Get familiar with the steps. This will save you time and frustration in the long run. Then, read them again. It’s like a good book; you might catch things you missed the first time.
The Assembly Adventure: Putting it All Together
Okay, time to get building. Follow the instructions carefully, but here are some general tips:
- Start with the Base: Usually, you’ll begin by assembling the base of the dresser – the sides, bottom, and back. Make sure everything is aligned properly before you tighten any screws.
- Attach the Sides and Drawers: Next, you’ll attach the sides to the base. This is also when you put the drawer slides on. Pay close attention to which side of the slide goes on which piece. Many a dresser has been built backwards at this point.
- Build the Drawers: Assemble the drawer boxes. This often involves screwing the sides, front, and back together. Make sure the corners are square.
- Insert the Drawers: Once the drawer boxes are assembled, slide them into the dresser frame, making sure the slides line up correctly. Test the drawers to ensure they open and close smoothly. If they don’t, readjust the slides. This is one of the most common problems.
- Attach the Back Panel: The back panel is usually a thin piece of wood or hardboard. This adds stability to the dresser. Make sure it’s flush with the frame and secure it with the provided screws or nails.
- Leveling is Key: Use a level to check that the dresser is sitting evenly on the floor. Adjust the feet if necessary. This is crucial for preventing wobbly drawers.
Pro Tip: Don’t overtighten screws. This can strip the wood and weaken the structure. Tighten them until they’re snug, then stop.
Drawer Alignment and Troubleshooting: When Things Go Wrong
Even with the best instructions, things can go wrong. Here’s how to handle some common issues:
- Drawers Don’t Close Properly: This is often due to misaligned drawer slides. Loosen the screws on the slides and adjust them until the drawer closes smoothly. If the drawers are still sticking, check that the dresser is level.
- Drawers Are Hard to Open or Close: This could be due to friction. Lubricate the drawer slides with a little bit of furniture polish or a dry lubricant.
- Loose Screws: If screws become loose over time, tighten them, but be careful not to overtighten. If the holes are stripped, you can use wood glue and toothpicks to fill them and then re-screw.
- Uneven Dresser: Use shims (small pieces of wood or plastic) under the legs to level the dresser on an uneven floor. You can usually find shims at any hardware store.
Maintaining Your Dresser: Keeping it Looking Its Best
Regular care will keep your dresser looking great for years. Here’s what to do:
- Dust Regularly: Dust your dresser with a soft cloth to prevent dust and dirt from building up. A microfiber cloth works best.
- Clean Spills Immediately: Wipe up spills as soon as they happen to prevent stains. Use a damp cloth and mild soap for most spills. Avoid harsh chemicals.
- Protect From Sunlight: Direct sunlight can fade the finish of your dresser. Position it away from direct sunlight or use curtains or blinds.
- Avoid Overloading Drawers: Don’t overload drawers, as this can put stress on the slides and the dresser structure. Distribute weight evenly.
- Use Drawer Liners: Drawer liners can protect the inside of your drawers from scratches and spills. They also make cleaning easier.
- Consider a Furniture Polish: Once in a while, apply a furniture polish to protect the finish and give it a nice shine.
Cleaning and Polishing: The Finishing Touches
Cleaning and polishing your dresser is easy, and it makes a huge difference in the overall appearance.
- Cleaning: For routine cleaning, use a damp cloth and a mild soap solution. Avoid abrasive cleaners, as they can scratch the surface. Wipe the dresser down and then dry it with a clean cloth. For stubborn marks, you might try a specialized wood cleaner, but always test it in an inconspicuous area first.
- Polishing: Choose a furniture polish that is appropriate for your dresser’s finish. Follow the instructions on the polish bottle. Typically, you’ll apply a small amount of polish to a soft cloth and rub it onto the dresser in the direction of the wood grain. Let it dry, then buff it with a clean cloth. This will not only make it shine, but also protect it.
- Removing Stains: For more difficult stains, try a mixture of baking soda and water. Make a paste, apply it to the stain, and let it sit for a few minutes before wiping it away. Be gentle and test this method in an inconspicuous area first.
Important Note: Always test any cleaning product in a hidden area of your dresser before applying it to the entire surface.
Long-Term Care and Considerations: Making it Last
Taking care of your dresser isn’t just about the here and now; it’s about its longevity. Here are some things to keep in mind:
- Moving Your Dresser: When moving your dresser, empty the drawers and remove them if possible. This will make it lighter and easier to handle. Be careful not to drag the dresser across the floor, as this can scratch the finish. If you have to lift it, lift from the base, and don’t put pressure on the drawers. Consider using furniture sliders.
- Climate Control: Extreme temperatures and humidity can damage wood furniture. Try to keep your dresser in a room with a stable temperature and humidity level. Avoid placing your dresser near heat sources or air conditioning vents.
- Preventing Scratches: Use coasters or placemats on the top of your dresser to protect it from scratches. Be careful when placing items on the surface. Also, if your dresser is close to a wall, you may want to put a felt pad on the back to prevent it from scratching the wall.
- Long-Term Storage: If you need to store your dresser for an extended period, clean it thoroughly and cover it with a breathable cloth or plastic sheet. Store it in a cool, dry place.
By following these tips, your 42-inch white 6-drawer dresser should look great for years to come. Remember, a little bit of care goes a long way. And, oh yeah, don’t get to frustrated if things get a bit tricky. We’ve all been there.
So, there you have it. From unpacking the box to everyday maintenance, you now have the knowledge to assemble, maintain, and troubleshoot your 42-inch white 6-drawer dresser. Remember, patience and attention to detail are your best friends during the assembly process. Regular cleaning and preventative care will keep your dresser looking its best for years. Don’t be afraid to ask for help if you get stuck. Most importantly, enjoy your new dresser and the organized space it provides. You’ve earned it. Happy assembling, and happy decorating. You’ve got this – and you’re now a dresser expert.

