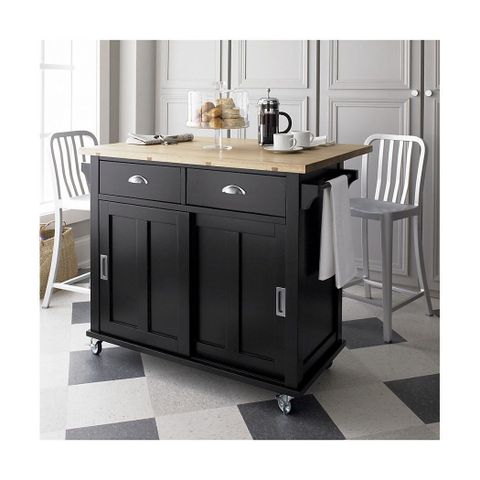
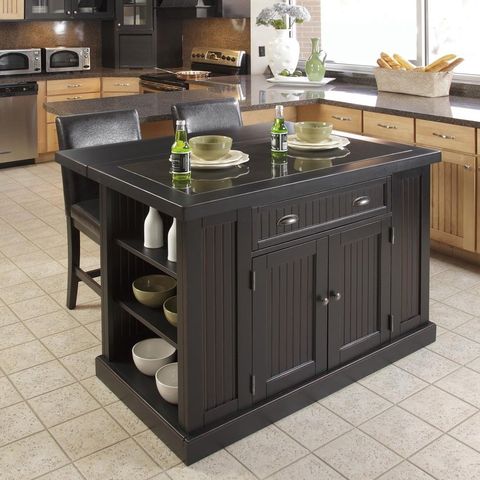
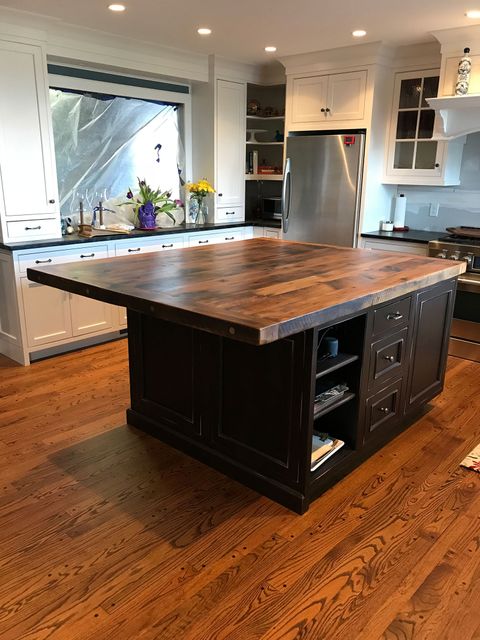
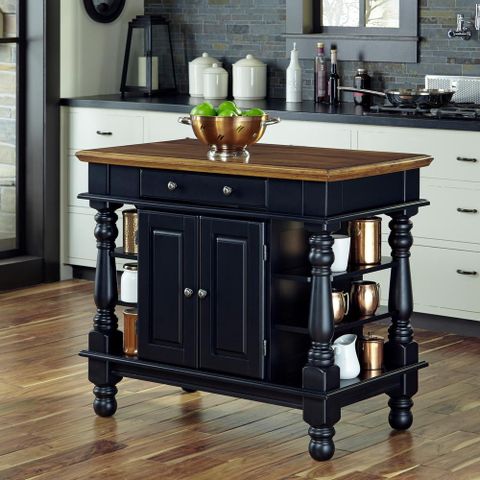
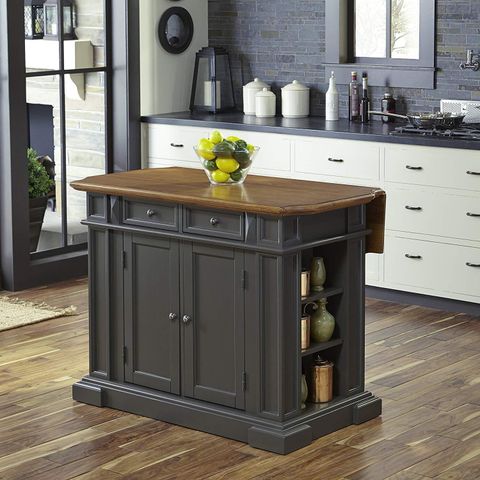
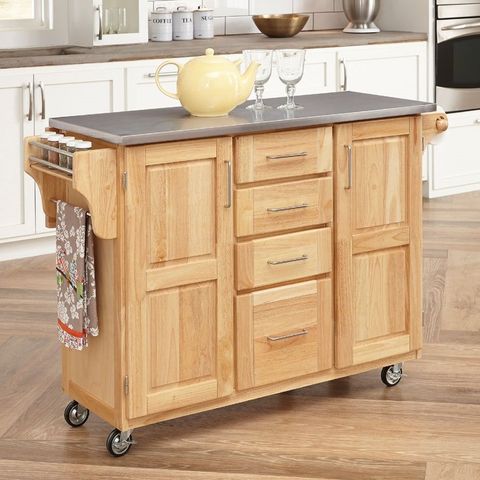
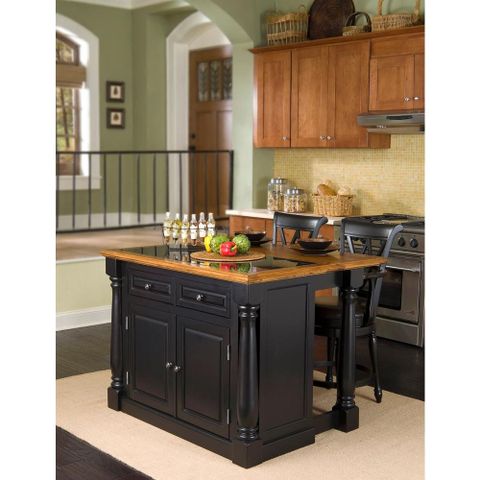
A kitchen island can completely alter the way you use your cooking space, providing extra counter space, storage, and a central gathering place. A 36-inch island, in particular, is a versatile size, suiting kitchens both large and small. This guide will walk you through everything you need to know to install your own kitchen island with storage, ensuring a smooth and rewarding DIY project. Get ready to say goodbye to clutter and hello to a more organized and enjoyable cooking experience; Let’s get started!
So, you’ve decided to take the plunge and add a kitchen island. Fantastic choice! It’s amazing how much more useful your kitchen can become with that extra workspace and storage. But where do you start? The thought of a DIY project, especially one involving building, can feel a bit overwhelming. Don’t sweat it; this guide is designed to break down the process of installing a 36-inch kitchen island with storage into simple, manageable steps. We’ll cover everything from planning and prep to the final touches, making sure you feel confident and informed every step of the way. This is about more than just building something; it’s about creating a space that you’ll love and use every single day. Let’s do this, you got this!
Planning and Preparation: The Foundation of Success
Before you even think about reaching for your tools, proper planning is key. First, accurately measure your kitchen space. Ensure you have enough room to move around the island comfortably. A good rule of thumb is to leave at least 36 inches of clearance around all sides; ideally, aim for 42 inches for busy areas. Consider the island’s placement in relation to your existing appliances and the kitchen’s workflow. Think about where you’ll be prepping food, where you’ll be eating, and how people will move through the space. Next, check your local building codes. You might need to run electrical wiring if your island includes outlets or appliances. This is crucial for safety. And, most importantly, always turn off the power at the breaker before doing any electrical work. Finally, gather all your materials: the island itself (either pre-made or the components if you are building from scratch), tools (drill, saw, level, measuring tape, etc.), and any necessary hardware. A well-prepared plan helps you avoid costly mistakes and makes the whole process a lot less stressful.
Assembly: Putting the Pieces Together
Once you have your island and all the required materials, it’s time to assemble it. Start by reading the manufacturer’s instructions carefully. If you’re building from scratch, follow your plans diligently. Lay out all the components and familiarize yourself with the different parts. Assemble the base of the island first. This is usually the frame that provides structural support. Use a level to ensure the base is perfectly even. Next, attach the storage components, such as cabinets or drawers. Make sure everything is aligned and secure. If you are installing cabinets, you might need to install the doors and drawers at this point. Take your time and don’t rush. This will give you a better end result. Assembling the island takes patience, and it’s a job where accuracy is crucial. Remember, measure twice, cut once. It’s better to double-check your measurements and alignments rather than needing to fix a mistake later. It’s also a good idea to involve a helper for this stage, especially when lifting and aligning larger components.
Electrical and Plumbing Considerations (If Applicable)
If your island includes electrical outlets or appliances (like a cooktop or dishwasher), this is the time to address the electrical and, potentially, plumbing. Important Note: Unless you’re a certified electrician or plumber, it’s best to consult with or hire a professional for any electrical or plumbing work. Safety is paramount. For electrical work, you’ll need to run wiring from your existing electrical panel to the island. This often involves running the wire through the floor or ceiling. You’ll need to install an electrical box and outlets in the island. For plumbing, you might need to run water lines and drain lines if your island includes a sink or dishwasher. This is where a plumber’s expertise is invaluable. They can ensure everything is up to code and that you avoid any leaks or electrical hazards. Always obtain the appropriate permits before starting any electrical or plumbing work. This will ensure that your work meets local codes and regulations, and that you are covered in the event of any issues. It’s a small price to pay for peace of mind and safety.
Securing the Island: Stability and Safety
Once the assembly, electrical, and plumbing are completed (if applicable), it’s time to secure the island to the floor. This step is essential for stability and safety. The method you use will depend on your floor type and the island’s design. For wood floors, you can often screw the island directly into the floor joists. Use shims to level the island if the floor isn’t perfectly even. For concrete floors, you’ll likely need to use concrete anchors. Drill holes in the floor, insert the anchors, and then screw the island into the anchors. Ensure the island is level before securing it. Use a level to check the surface in multiple directions. If the floor isn’t level, use shims under the island’s base until it is. This is critical for the island to function properly and for the countertop to sit flush. The goal here is to prevent the island from rocking or shifting. A securely anchored island is a safe island.
Installing the Countertop: The Finishing Touch
The countertop is the crowning glory of your kitchen island. The installation process varies depending on the countertop material. For pre-cut countertops, simply set them in place and secure them according to the manufacturer’s instructions. If you’re installing a solid surface or stone countertop, you might need to hire a professional for this step. These materials are heavy and require specialized tools and techniques. Ensure the countertop is perfectly aligned with the island base. Use a level to check for any unevenness. If there are any gaps between the countertop and the island, use caulk to seal them. This will prevent water from seeping into the island and damaging the structure. Once the countertop is installed, it’s time to add any finishing touches, such as a backsplash or edge trim. Choose a countertop that complements your kitchen’s style and meets your needs. Consider the material’s durability, maintenance requirements, and aesthetic appeal. A beautiful, functional countertop will complete your island and enhance your kitchen’s overall look.
Final Touches and Finishing Up
Now it’s time for the final touches. Install any hardware, such as cabinet pulls or drawer knobs. Add any trim or decorative elements to the island. Caulk any seams or gaps to create a seamless look and prevent water damage. Clean up any debris and wipe down the surfaces. Inspect your work and make sure everything is secure and functioning properly. Now, step back and admire your handiwork. You’ve successfully installed a 36-inch kitchen island with storage! This is a great achievement, and you should feel proud of your accomplishment. This is also a great time to add any decorative elements, such as a bar stool or a vase of flowers. Take some time to enjoy your new kitchen island. Use it, and see how it changes the way you cook, eat, and socialize in your kitchen. Your kitchen is now a more functional, stylish, and enjoyable space. Congratulations on a job well done!
Installing a 36-inch kitchen island with storage is a rewarding project that can transform your kitchen. By following the steps outlined in this guide, you can create a functional and stylish space that meets your needs. Remember to plan carefully, take your time, and prioritize safety. Don’t be afraid to ask for help if you need it. With a little effort, you can enjoy the benefits of a kitchen island for years to come. You’ve added value and functionality to your home, and you’ve created a space that you’ll love. Embrace the extra counter space, the added storage, and the new gathering place your island provides; You did it, well done.

