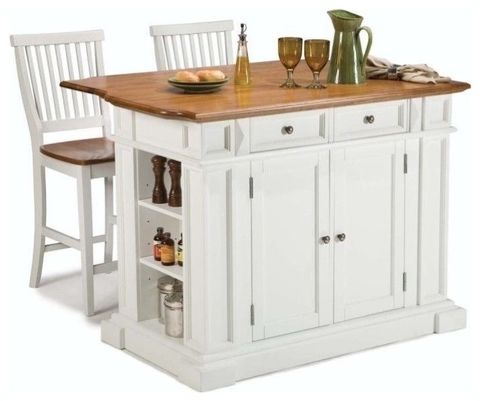
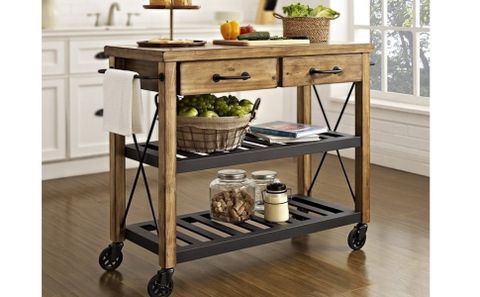
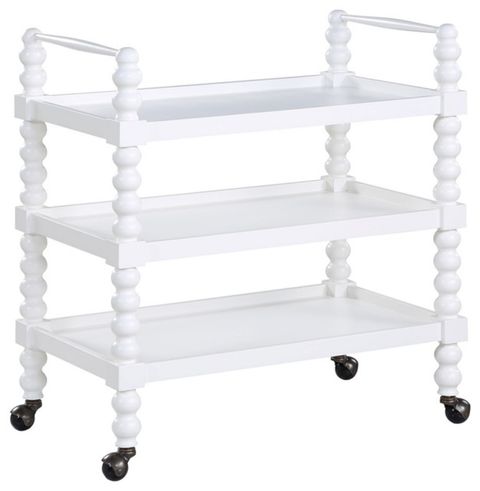
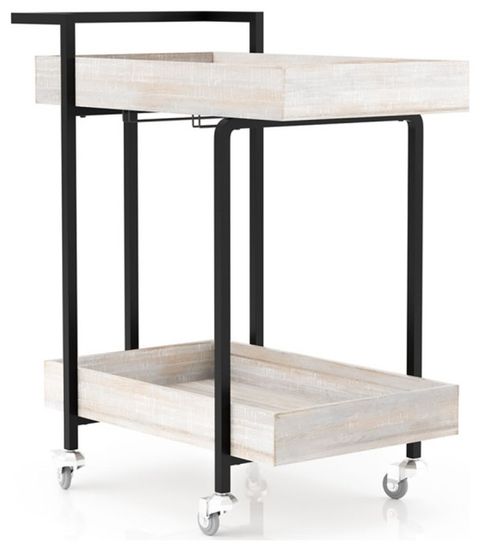
Welcome, culinary adventurers and kitchen enthusiasts. I’m so excited to dive into a topic near and dear to my heart: the humble yet incredibly useful kitchen cart. We’re going to explore everything, from the initial excitement of choosing the perfect cart to the long-term care that keeps it serving you faithfully for years. Get ready to transform your kitchen space, one cart at a time. We’re going to break down the assembly process, and I will share tips on how to keep your cart in tip-top shape, and I’ll give you some ideas for how to use one. Let’s get started.
Think about your kitchen. Is it a place of joyful creation, a hub of family activity, or a battlefield of limited counter space? If it’s the latter, or if you simply crave more efficiency and storage, a kitchen cart might be your secret weapon. They’re not just for looks. They’re functional, versatile, and can completely change how you work in the kitchen. This manual is all about empowering you to select, build, and keep your kitchen cart in prime condition. I’ll share my own experiences, and you will get practical advice that you can use right away.
Choosing Your Kitchen Cart Companion: What to Look For
Before you start building, you need the right cart. Don’t just grab the first one you see. Consider these factors:
- Size and Space: Measure your kitchen! Where will the cart live? Ensure it fits without blocking pathways or crowding your workspace. Also, consider how much space you have to put it together.
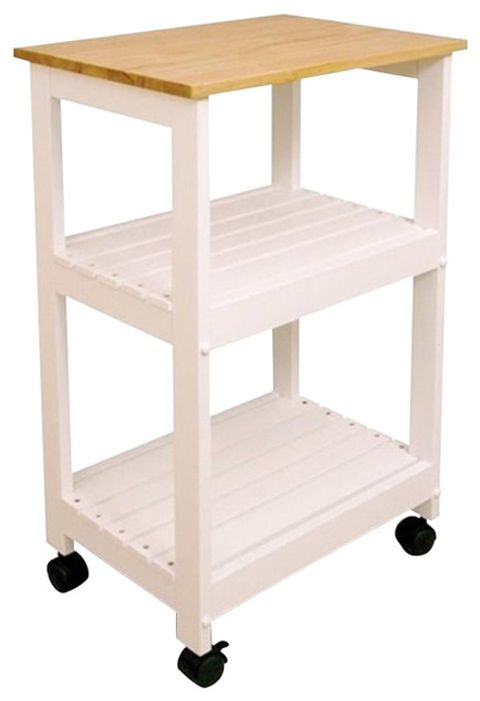
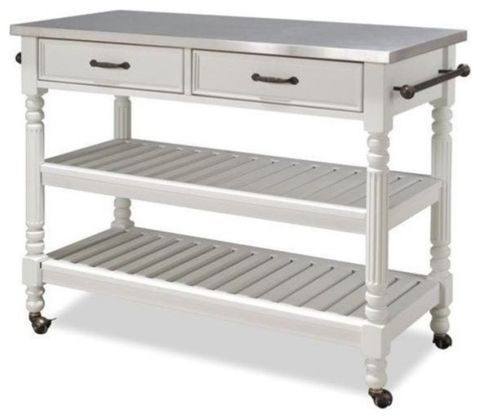
- Materials: Wood, metal, bamboo, or a mix? Each has pros and cons. Wood is classic but needs more care. Metal is durable. Bamboo is sustainable. Evaluate what matches your lifestyle and aesthetic.
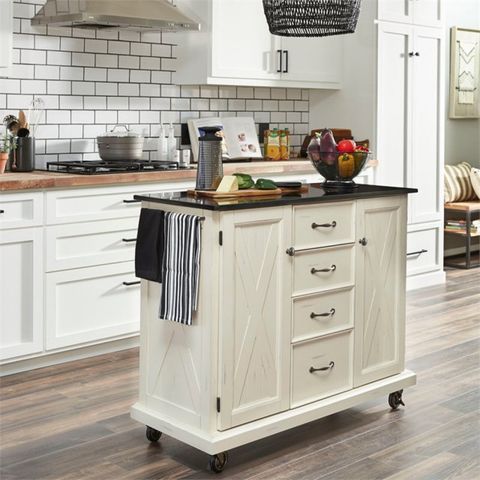
- Storage Needs: Do you need drawers, shelves, or a combination? Think about what you’ll store. Pots and pans? Spices? Baking supplies? Make sure the cart’s storage solutions align with your needs. Some carts even come with built-in wine racks.
- Mobility: Locking wheels are your friend. They allow you to move the cart easily, and then lock it in place when you’re ready to work. If you plan to move it often, wheels are a must.
- Budget: Kitchen carts come in a wide range of prices. Figure out how much you’re willing to spend before you start shopping. You can find great carts at all price points.
The Assembly Adventure: Step-by-Step Guide
Alright, you’ve got your cart. Now, it’s time for the build. Don’t panic. Most carts come with instructions, but here are some general tips:
- Read the Instructions FIRST: Seriously. Do it. Get familiar with all the parts and the steps. It will save you time and frustration.
- Gather Your Tools: You’ll likely need a screwdriver (electric screwdrivers speed things up), a hammer (maybe), and possibly a wrench. Have them ready.
- Organize Your Parts: Lay everything out. Group similar pieces together. Use small containers or baggies to keep screws and other small hardware separate. This helps prevent losing things.
- Follow the Instructions Methodically: Don’t skip steps. Tighten screws gradually. If you’re unsure about something, double-check the instructions or the diagrams.
- Don’t Overtighten: This is a common mistake. Over-tightening can strip screws or damage the wood. Tighten until snug, then stop.
- Get Help (if needed): If you’re struggling, don’t hesitate to ask a friend or family member for assistance. Sometimes, a second set of hands makes all the difference.
Caring for Your Cart: Keeping it Beautiful and Functional
Assembly is only half the battle. To keep your kitchen cart performing well, you need to maintain it. Here’s how:
- Cleaning: Wipe down surfaces regularly. Use a damp cloth and mild soap for most materials. Avoid harsh chemicals or abrasive cleaners.
- Wood Care: For wooden carts, consider occasional polishing with wood polish to protect the finish. Avoid placing hot items directly on the wood; use trivets or hot pads.
- Metal Maintenance: Check for rust. If you see any, clean it off with a rust remover and protect the area with a sealant or paint.
- Wheel Love: Clean the wheels periodically to remove debris. Lubricate them with a silicone-based lubricant if they squeak or become stiff.
- Check for Loose Screws: Periodically tighten screws to prevent the cart from wobbling or becoming unstable.
- Avoid Overloading: Don’t exceed the cart’s weight capacity. Distribute weight evenly to prevent tipping or damage.
Kitchen Cart Creativity: Maximizing Its Potential
Your kitchen cart is more than just storage. It’s a versatile workhorse. Here’s how to get the most out of it:
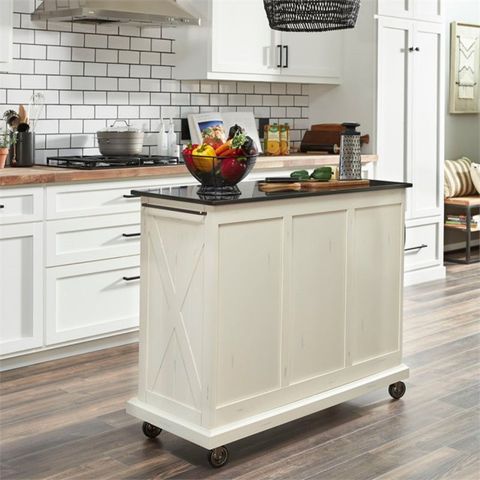
- Prep Station: Use the top surface for chopping, mixing, and assembling meals.
- Coffee or Tea Station: Keep your coffee maker, tea kettle, and supplies organized in one place.
- Baking Central: Store all your baking ingredients, tools, and gadgets within easy reach.
- Bar Cart: Transform it into a stylish bar cart for entertaining.
- Extra Counter Space: When you need more space for a buffet or holiday meal, your cart can save the day.
- Spice Rack Extravaganza: Keep your favorite herbs and spices organized and within reach.
Common Pitfalls and How to Avoid Them
Even experienced cooks and DIYers make mistakes. Here are some common issues and how to sidestep them:
- Assembly Errors: Rushing the assembly process can lead to problems. Always read the instructions thoroughly, and double-check your work.
- Ignoring Weight Limits: Overloading your cart can cause it to tip over or damage the structure. Always check and adhere to the weight limits.
- Neglecting Maintenance: Ignoring cleaning and maintenance will shorten the lifespan of your cart. Make regular care a habit.
- Choosing the Wrong Cart: Picking a cart that doesn’t meet your needs is a waste of money. Consider your storage requirements and available space before you buy.
- Forgetting to Protect Surfaces: Placing hot items directly on the cart’s surface can damage it. Always use trivets or hot pads.
Troubleshooting: Quick Fixes for Common Problems
Even with the best care, problems can arise. Here’s how to handle some common issues:
- Wobbly Cart: Tighten all screws and bolts. If the cart still wobbles, check if the wheels are level.
- Sticking Drawers or Shelves: Make sure nothing is obstructing the drawers or shelves. Lubricate the drawer slides or shelf supports if needed.
- Scratches on the Surface: Use a furniture repair marker or touch-up paint to cover scratches. For deeper scratches, you might need to sand the area and refinish it.
- Wheels That Won’t Move: Clean the wheels and lubricate them. Check for any obstructions preventing movement.
- Missing Parts: Contact the manufacturer to request replacement parts. Keep your purchase receipt and any documentation from the cart.
So there you have it. You’re now armed with the knowledge to choose, assemble, and maintain your very own kitchen cart. Remember, it’s not just about the cart itself; it’s about creating a more efficient, organized, and enjoyable cooking experience. Take your time, follow the steps, and don’t be afraid to get creative. Your kitchen cart is waiting to become a valuable asset in your culinary journey. Happy cooking, and happy carting. Remember: don’t be afraid to experiment, and to personalize your space. That’s where the real fun begins. I hope you have a great time.

