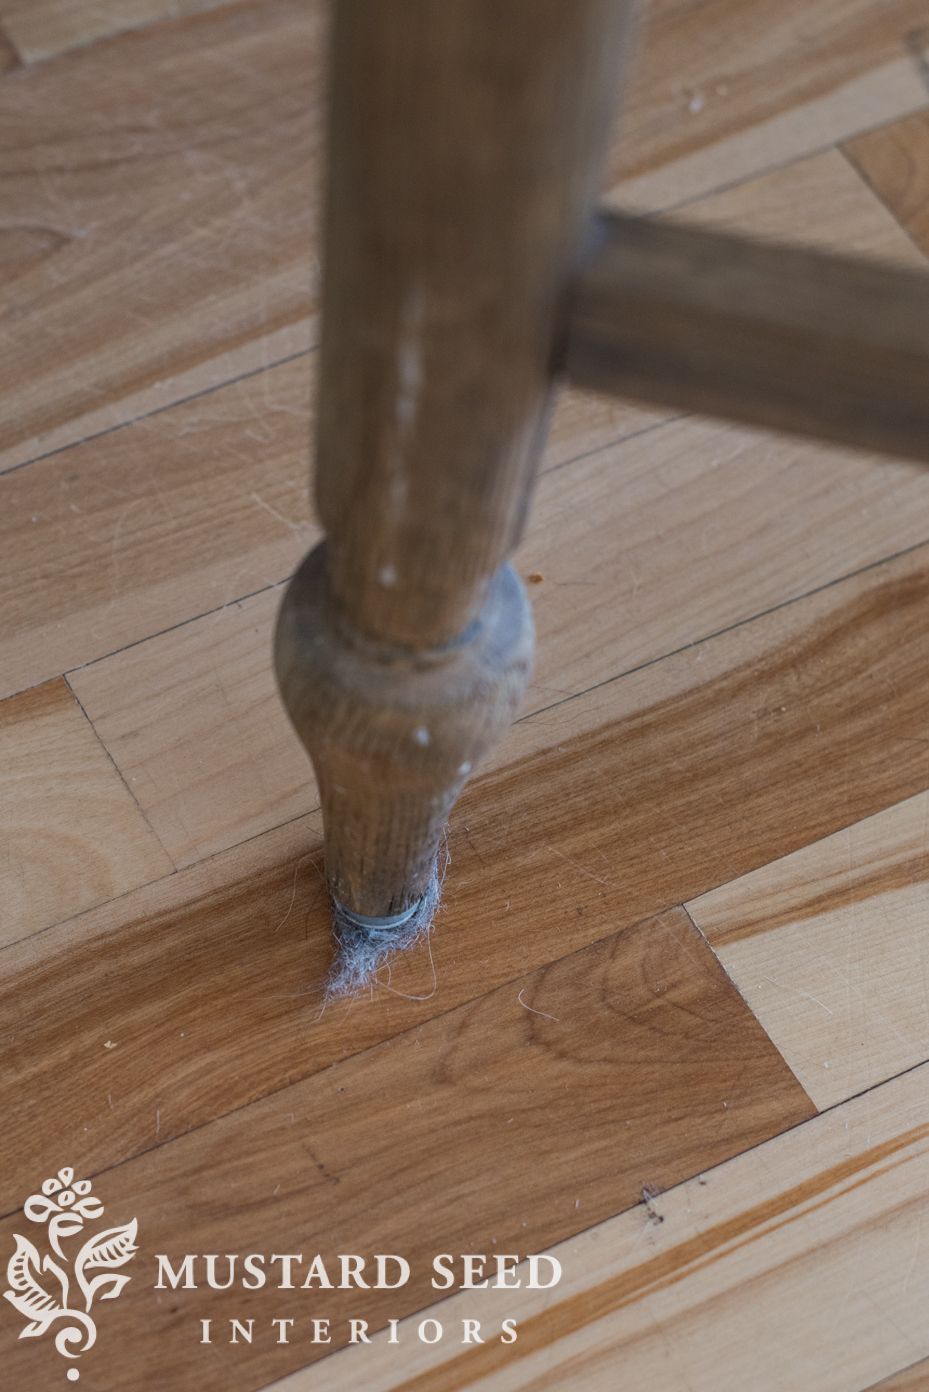
Ever moved a piece of furniture and winced at the sound of wood scraping against your precious floor? It’s a common headache, right? Those little scratches and gouges can really take away from the beauty of your home. But what if I told you there’s a super simple, budget-friendly way to put a stop to all that damage. We’re talking about making your own furniture glides. It’s easier than you think, and the payoff is huge for keeping your floors and furniture looking tip-top.
Think about your favorite chair, that sturdy dining table, or even that heavy dresser. Moving them, even just a little, can be a recipe for disaster for your flooring. Whether you’ve got gleaming hardwood, delicate laminate, or plush carpet, the friction from furniture legs can cause wear and tear. Traditional furniture pads are okay, but sometimes they fall off, or they’re just not the right size. That’s where the magic of DIY glides comes in. We’re going to explore how to create custom solutions that stick tight and keep everything gliding smoothly, protecting your home from unnecessary harm. It’s about taking a little control and saving yourself from future repair bills and unsightly marks.
Why Bother with DIY Glides?
So, why go through the trouble of making your own when you can buy them? Well, for starters, cost. Buying specialized glides for every piece of furniture can add up, especially if you have a lot of items. Plus, DIY glides let you customize the size and material to perfectly fit your furniture legs and your specific flooring type. Need a thicker pad for a really heavy item? No problem. Want a super-smooth base for a rug? You got it. It’s also incredibly satisfying to create something useful with your own hands, and you know exactly what’s protecting your floors. It’s a practical skill that pays off every time you need to rearrange your living space. And let’s be honest, sometimes the store-bought options just don’t cut it for unique furniture legs.
Gathering Your Glide-Making Arsenal
The beauty of DIY glides is that you likely already have most of the materials you need around the house, or they’re super easy to find and inexpensive. Here are some popular and effective options:
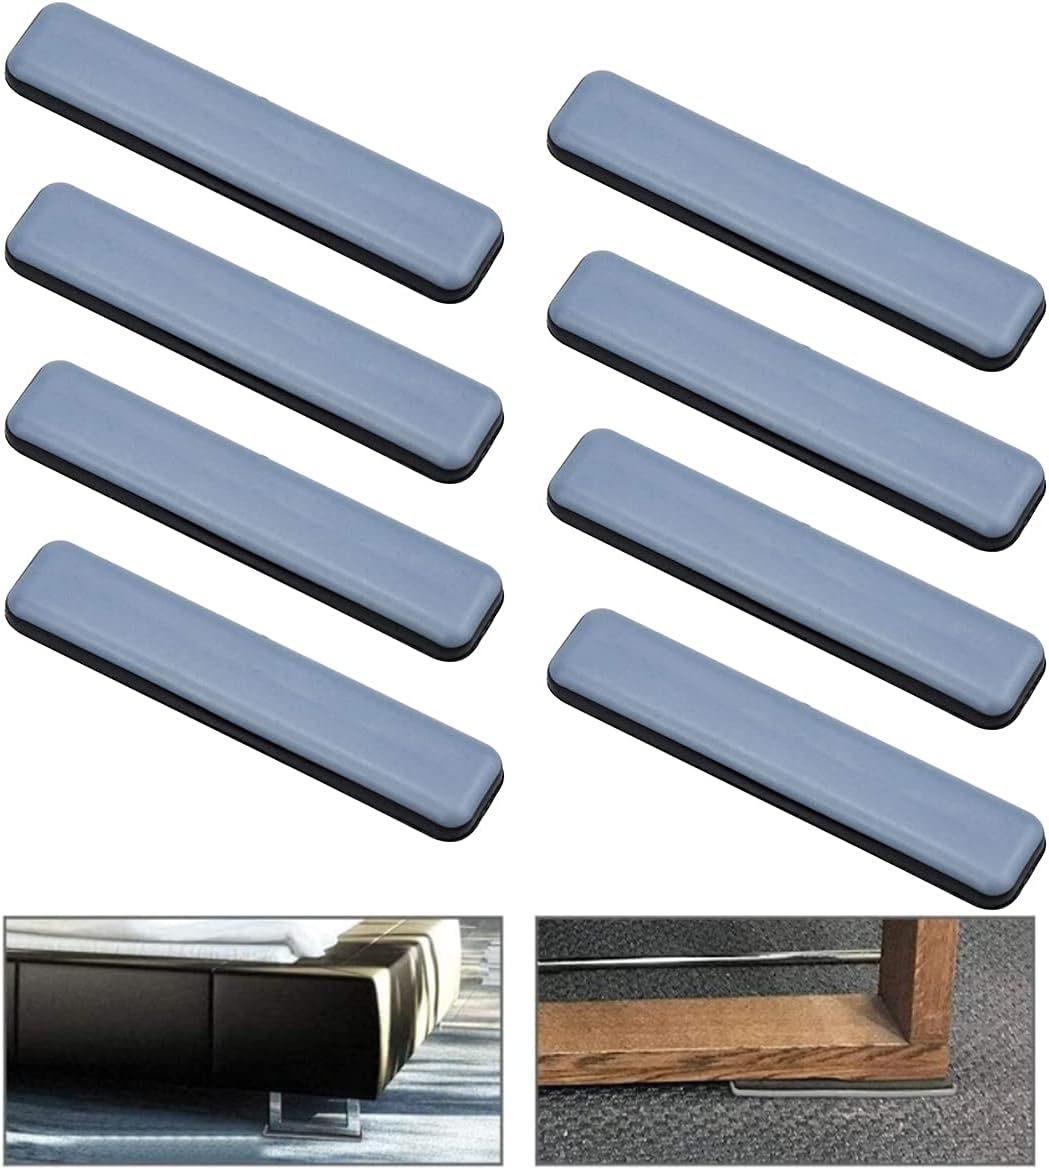
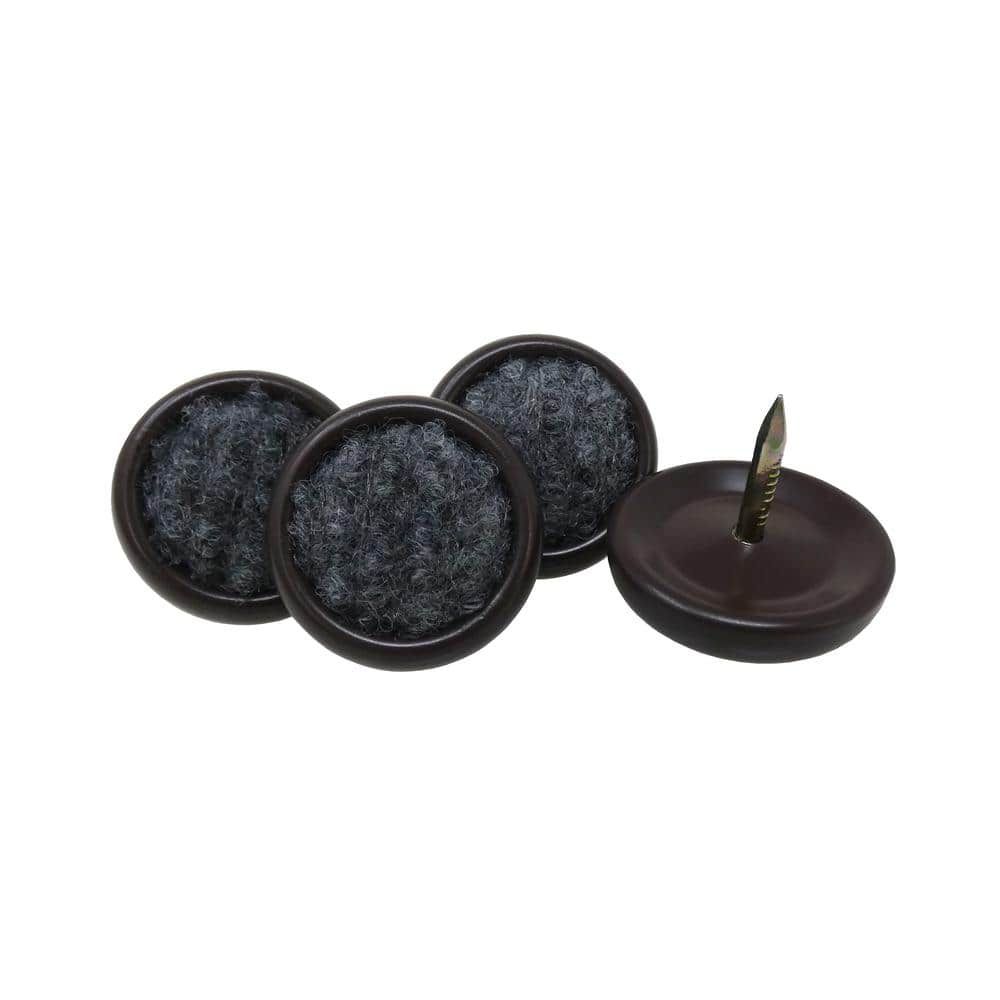
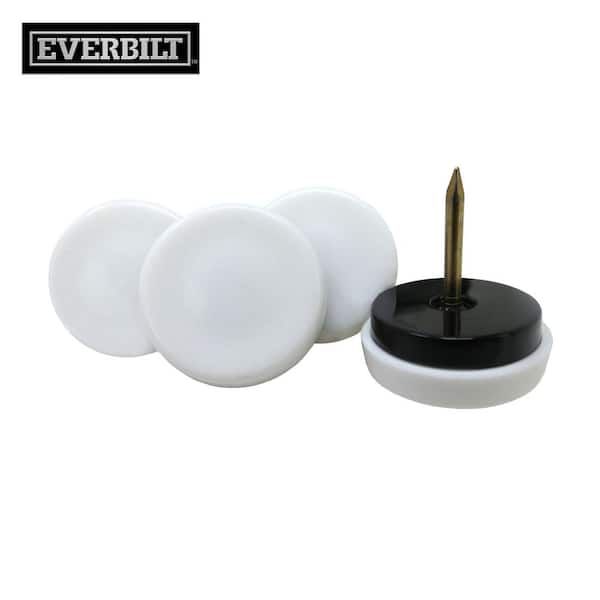
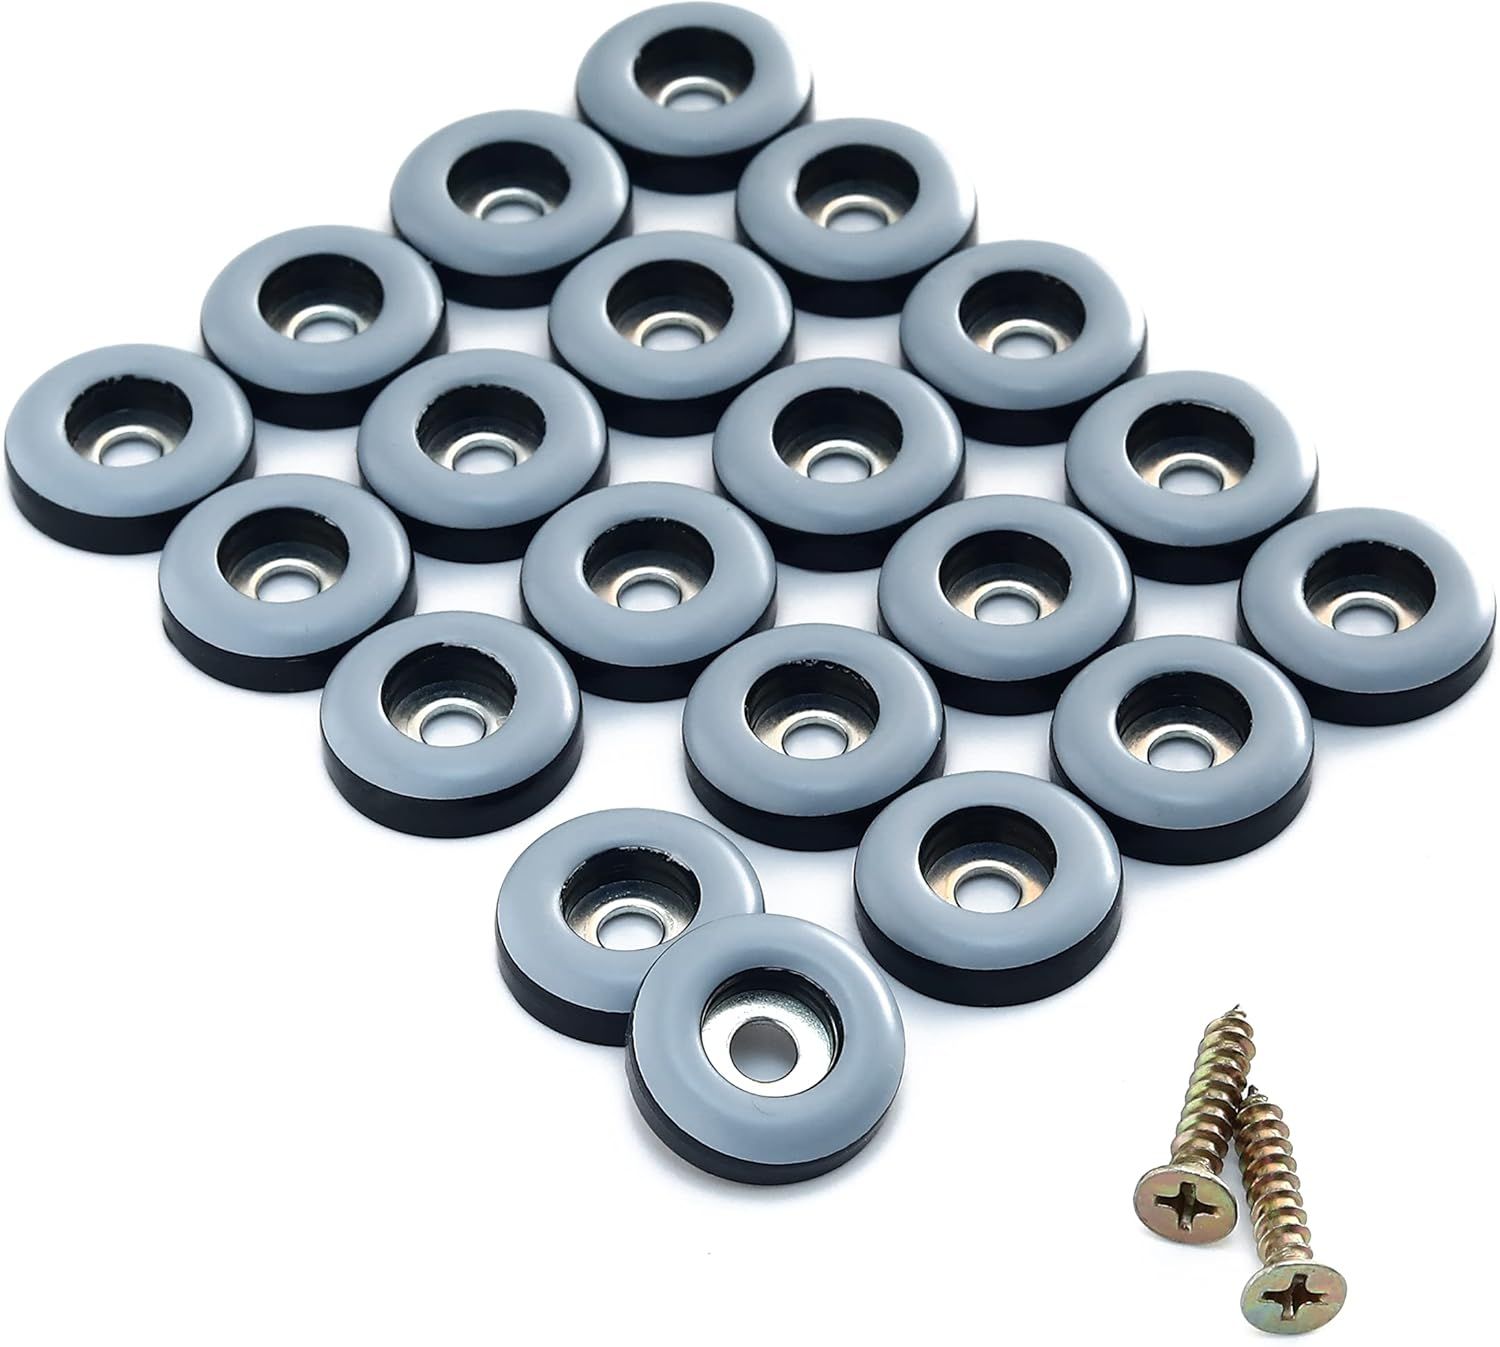
- Felt Pads: These are the classic. You can buy large felt sheets and cut them to size. They’re great for wood, tile, and laminate floors, offering a soft, smooth surface.
- Craft Foam Sheets: Similar to felt, craft foam is easy to cut and provides a bit of cushioning. It’s a good all-rounder for various floor types.
- Cardboard: Yes, good old cardboard! Thick cardboard, like from shipping boxes, can be layered and glued to create surprisingly durable glides. It’s especially good for heavier furniture on carpet.
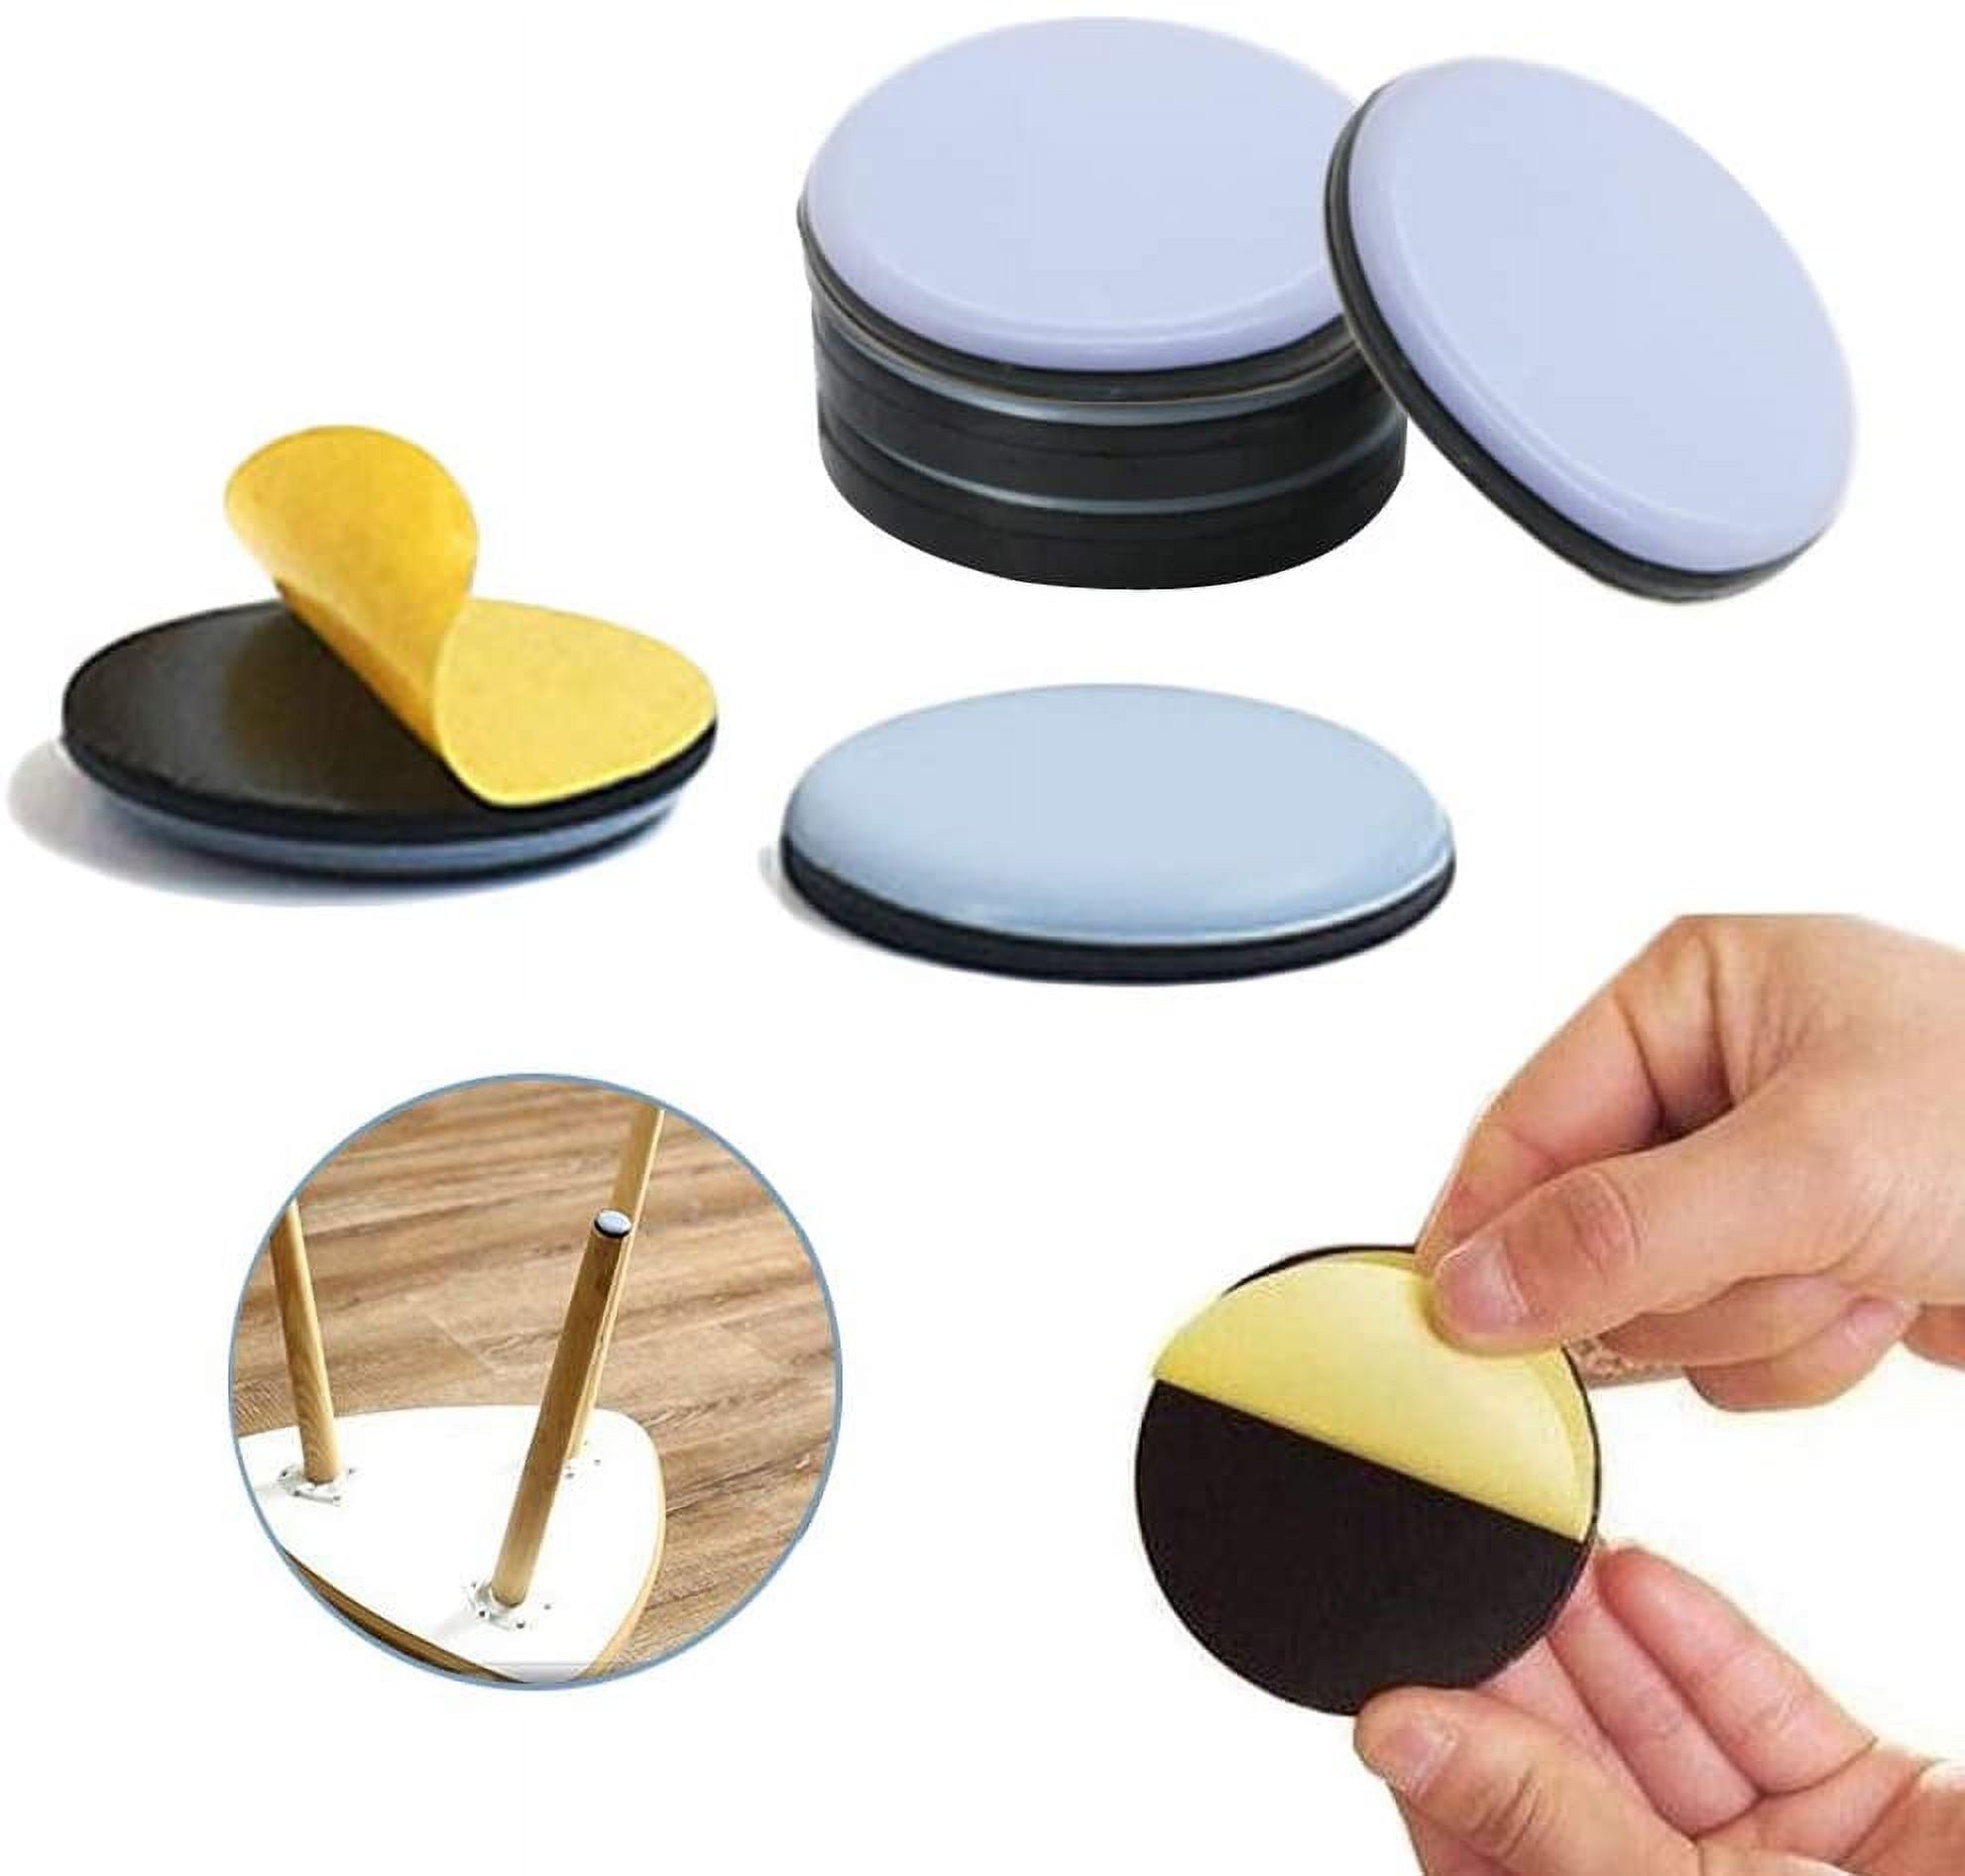
- Old Mousepads: The rubbery underside of a mousepad can make an excellent, grippy glide, particularly for furniture on hard floors that you don’t want sliding too much. Just cut off the fabric top.
- Cork Sheets: Cork offers a natural, eco-friendly option that provides good grip and some cushioning. It’s durable and looks quite nice, too.
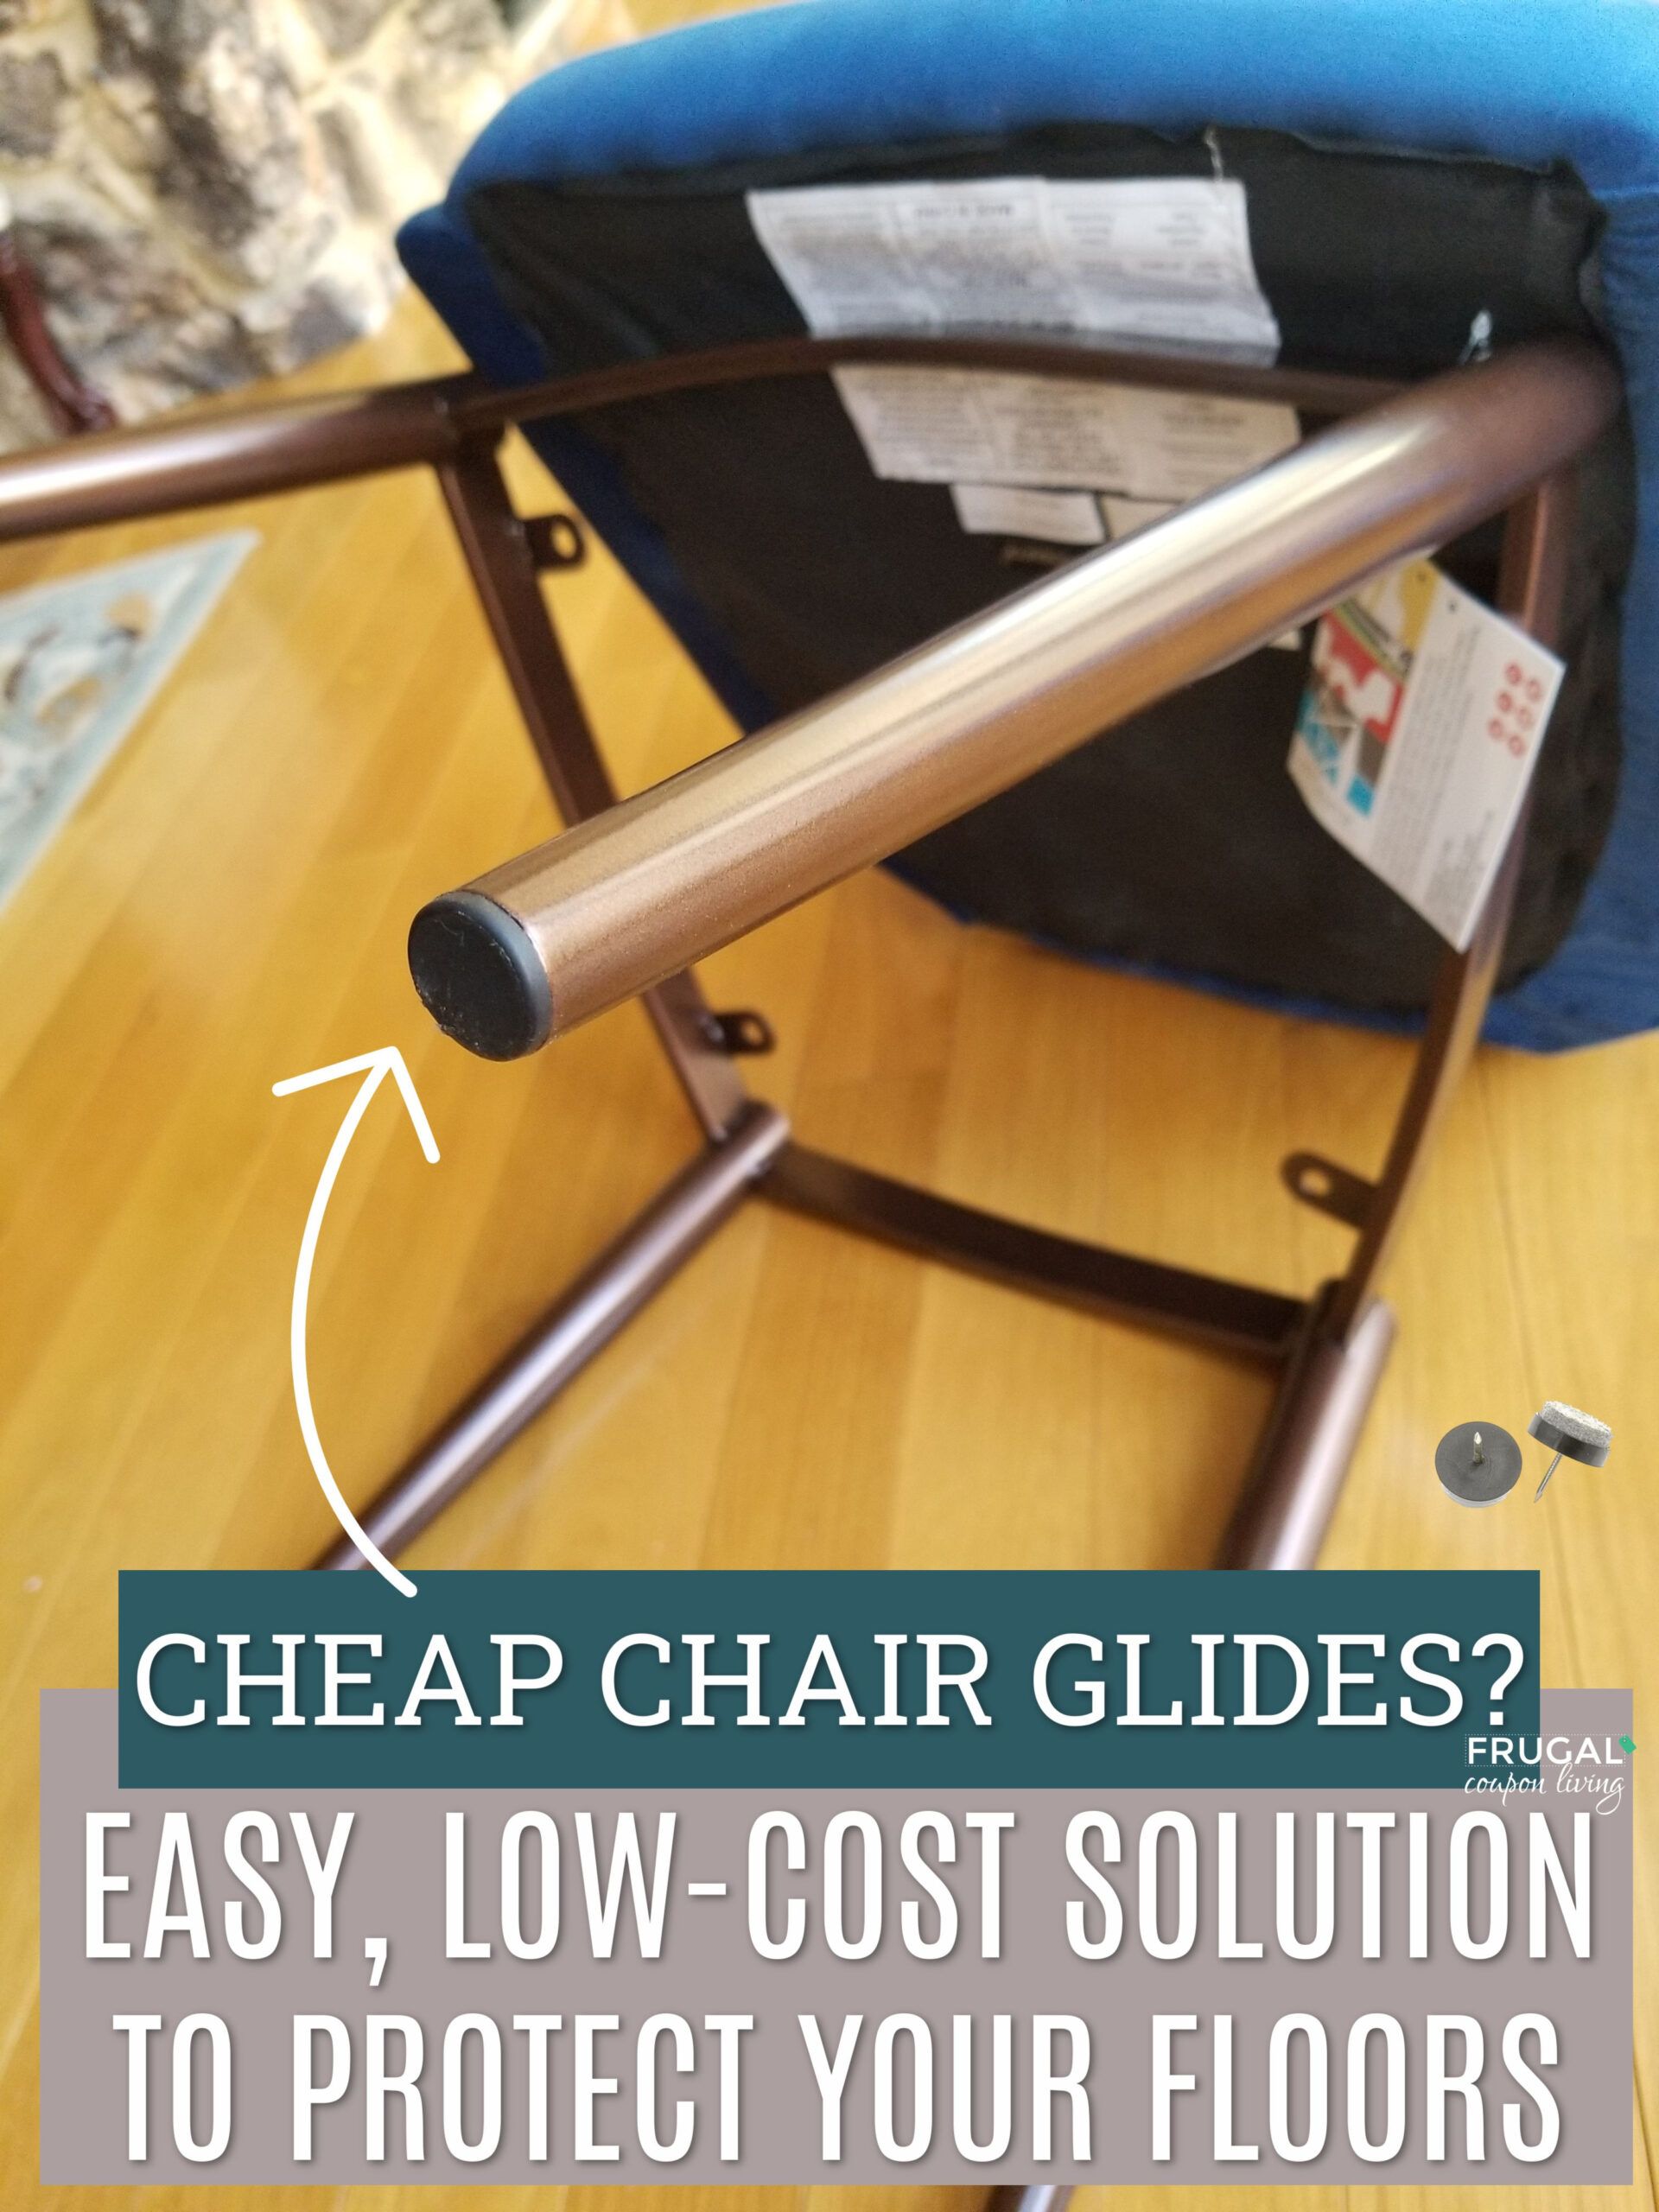
- Adhesives: You’ll need a strong adhesive to attach your chosen material. Hot glue is quick and effective for many materials, but a strong craft glue or even double-sided carpet tape can also work depending on the application.
Step-by-Step: Crafting Your Custom Glides
Let’s get down to business. Making these is genuinely straightforward. You don’t need to be a master crafter. Here’s how you do it:
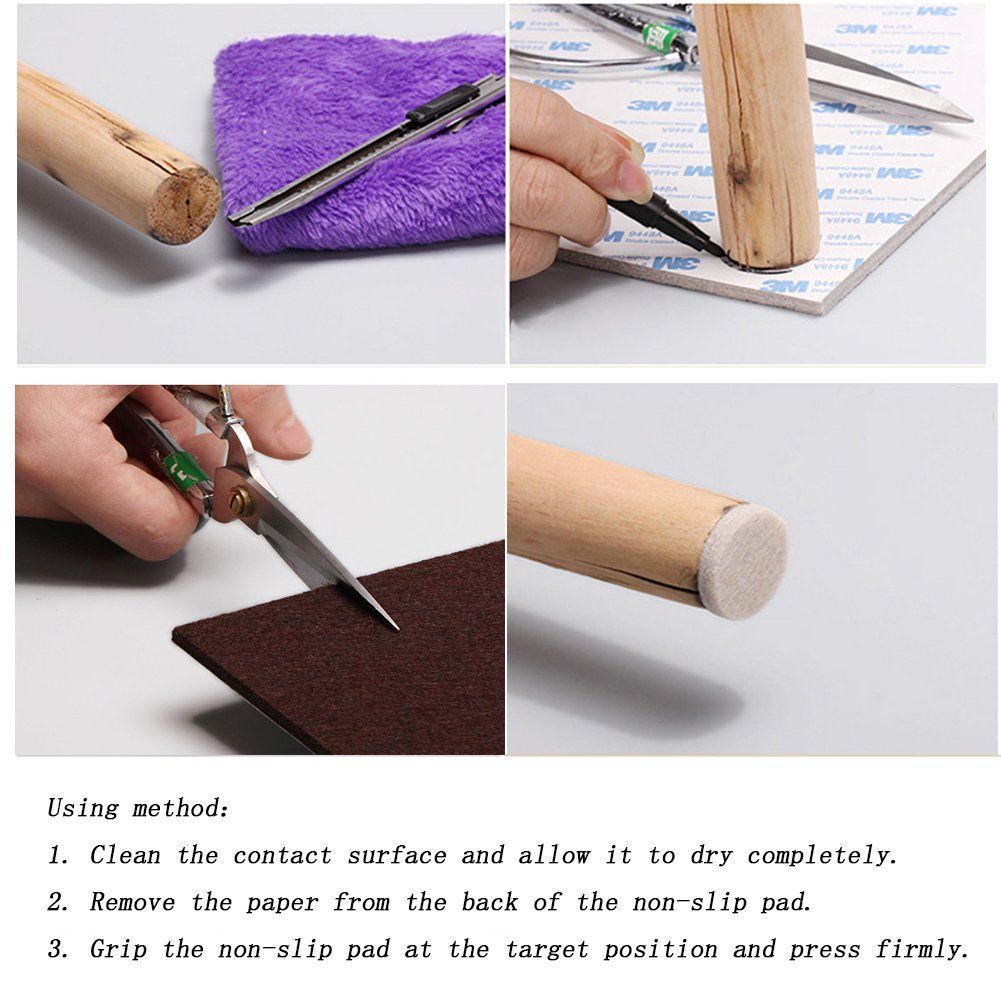
- Measure and Mark: First, turn your furniture upside down (carefully!) and measure the bottom of each leg. You want your glide to be slightly larger than the base of the leg to ensure full coverage and protection. Trace the shape of the leg onto your chosen material (felt, foam, cardboard, etc.).
- Cut Your Glides: Using sharp scissors or a craft knife, carefully cut out the shapes you traced. If you’re using cardboard or multiple layers of felt, cut out several identical shapes for each leg.
- Layer and Glue (If Necessary): For extra thickness and durability, especially with thinner materials like felt or cardboard, you can glue two or three layers together. Apply your adhesive (hot glue works great here) to one piece, press the next piece on firmly, and repeat if needed. Let it dry completely.
- Attach to Furniture: Now for the crucial part. Apply a generous amount of adhesive to the underside of the furniture leg. If you’re using felt or foam, a strong craft glue or a dab of hot glue is usually sufficient. For heavier items or more robust materials, consider using a strong, permanent adhesive or even heavy-duty double-sided tape. Press the cut glide firmly onto the glued leg and hold it in place for a minute or two until it feels secure.
- Let it Cure: It’s important to let the adhesive cure properly before moving the furniture. Check the adhesive’s instructions, but usually, a few hours is best. This prevents the glide from detaching prematurely.
- Test and Adjust: Once dry, carefully move the furniture. Does it slide smoothly? Are there any rough edges catching? If so, you might need to trim a bit or add another layer. It’s all about getting that perfect, smooth glide.
Choosing the Right Material for Your Floors
Not all glides are created equal, and the best choice really depends on what’s under your furniture. Think about your floors and what they need:
- Hardwood & Laminate: These floors are prone to scratches. Soft felt or thick craft foam are excellent choices. They provide a smooth surface that won’t abrade the finish. Cork is also a good option here, offering a bit more grip.
- Tile: Similar to hardwood, tile can be scratched by rough furniture legs. Felt or foam work well. If your tile is very smooth and you worry about furniture sliding too easily, a slightly grippier material like cork or even a thick rubberized material (like from an old yoga mat, perhaps) could be considered, but be mindful of potential residue.
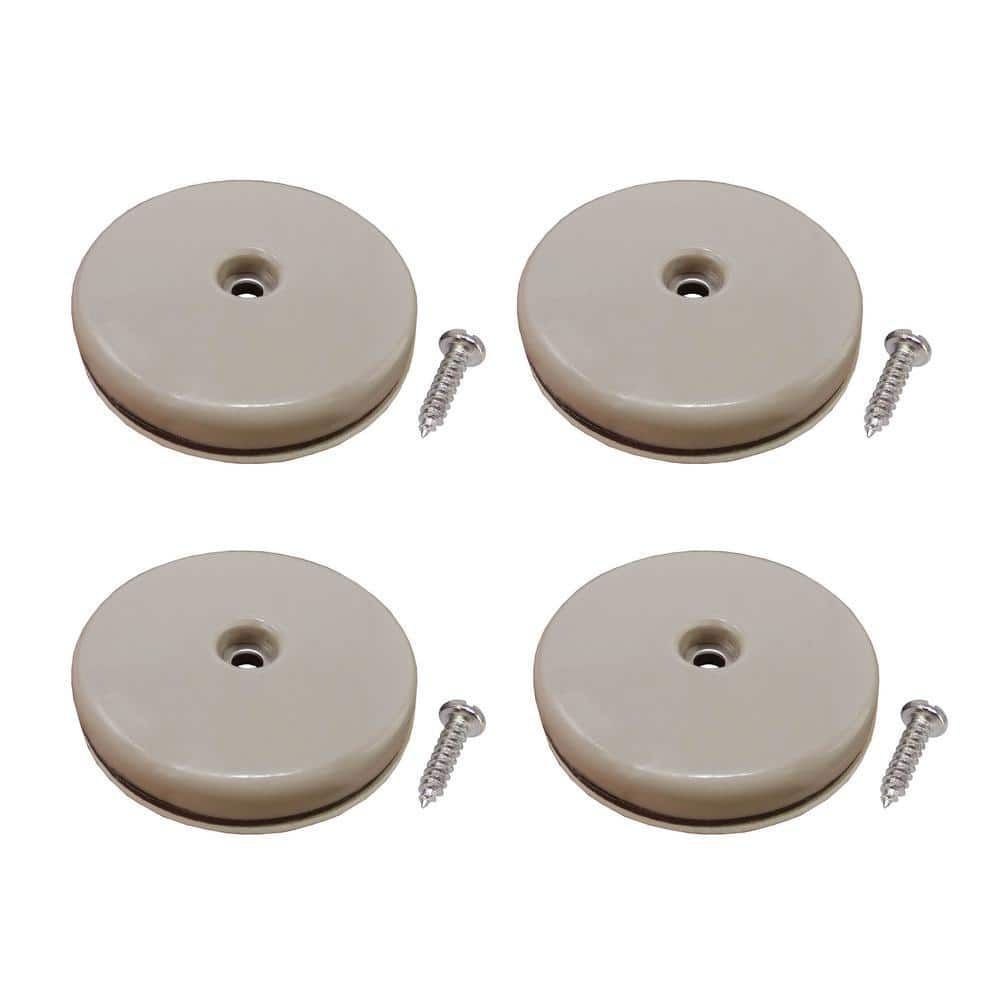
- Carpet: On carpet, the goal is often to make it easier to slide heavier items. Thicker, sturdier materials like layered cardboard or even plastic lids (from tubs) can work. Sometimes, a smooth, hard plastic glide is best for really tough-to-move furniture on thick carpet.
- Vinyl & Linoleum: These are generally more forgiving, but scratches can still happen. Felt or foam are your safest bets to prevent any damage.
Tips for Longevity and Maintenance
Your DIY glides are built to last, but like anything, a little care goes a long way. Keep these pointers in mind:
- Check Periodically: Every few months, give your glides a quick inspection. Are they still firmly attached? Is the material wearing down? It’s much easier to re-glue or replace a worn glide than to fix a damaged floor.
- Clean Gently: If the glides get dusty or dirty, you can usually wipe them with a damp cloth. Avoid harsh chemicals that might degrade the adhesive or the glide material itself.
- Replace When Needed: Don’t wait until a glide is falling off or torn. If you notice significant wear, it’s time to make a new one. It’s a quick process, and preventing damage is always the best strategy.
- Consider the Weight: For very heavy furniture, you might need to use thicker materials or more layers of cardboard or felt. Stronger adhesives are also a good idea for these situations. Even consider using multiple glides per leg if the leg is very wide.
Beyond Furniture Legs: Other Uses for DIY Glides
The concept of a smooth, protective glide isn’t just for furniture legs. You can adapt this idea for all sorts of things around your home:
- Appliances: Ever tried to pull out your washing machine or refrigerator to clean behind it? Attach some larger, sturdier glides to the bottom. It makes moving them so much easier.
- Heavy Decor: Large vases, statues, or even heavy planters can scratch surfaces. Add small felt or cork circles to their bases.
- Cutting Boards: If you have a wooden cutting board that tends to slide around on your counter, attach small rubber feet (you can cut these from old mousepads or rubber sheeting) to the bottom corners.
- Storage Bins: Wooden or metal storage bins that might scrape floors can benefit from felt pads on their corners.
It’s all about thinking creatively about where friction can cause damage and applying a simple gliding solution. It’s a small effort with a significant impact on preserving your home’s surfaces.
See? Making your own furniture glides is a simple, effective, and economical way to protect your floors and furniture. It’s a practical solution that empowers you to take care of your home, one little glide at a time. From felt and foam to cardboard and cork, the materials are accessible, and the process is incredibly easy. So next time you need to move something, or even just want to add a layer of protection, reach for your craft supplies instead of your wallet. You’ll be amazed at how much difference these tiny additions can make in keeping your living space beautiful and damage-free for years to come. Happy gliding!